Mounting A Modular Arrowhead
Welcome back Foam-smiths! So, you have made a modular arrowhead, and wish to mount it to an arrow shaft? Good! The following steps are indented to be used in conjunction with the previous modular arrowhead tutorial. Some modifications may be needed if you use a tutorial from another person, or you have a different type of modular arrowhead. Again, this is designed to be viewed best on a computer.
You will need the following tools: Scissors, clear Duck tape, standard Duck tape, Gorilla tape, hockey tape, and a fine-point Sharpie permanent marker.
You will need the following tools: Scissors, clear Duck tape, standard Duck tape, Gorilla tape, hockey tape, and a fine-point Sharpie permanent marker.
Right off the bat, I tend to deviate from other smithys when it comes to my arrows. I tend to use the fine-point Sharpie marker to write my unit name, and occasionally my personal crest, on the veins of my arrow. This gives anyone a quick identifier as to what unit the arrow belongs to.
Another variation, and this is where the clear Duck tape comes in. I've seen veins come off from extended use, or occasionally, an archer that didn't line the arrow up properly on their bow. I tend to use the clear Duck tape on the veins as an added piece of protection for t he veins. The excess is trimmed to just above the veins for ease of flight. Yes, the lettering is a bit harder to read, but the veins are far more secure. 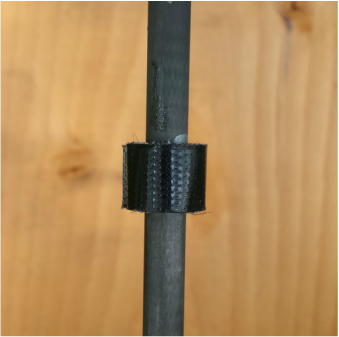
Finally, we get to the actual mounting of the arrowhead on to the arrow shaft. Start with the standard Duck tape by wrapping it around the end of the arrow shaft. This step is important, any wrinkles will be expanded on, layer by layer, so try to keep this as clean, and as even as possible. The image to the right only has about two or three layers on it at this point. 
The image to the right depicts the snug fit your modular arrowhead should have on the arrow shaft. When your fit is good and snug, go ahead and push the arrow head on until the tip of the arrow shaft touches the penny cap at the top of your arrowhead's core. At this stage, you are ready to begin securing the arrowhead tightly. 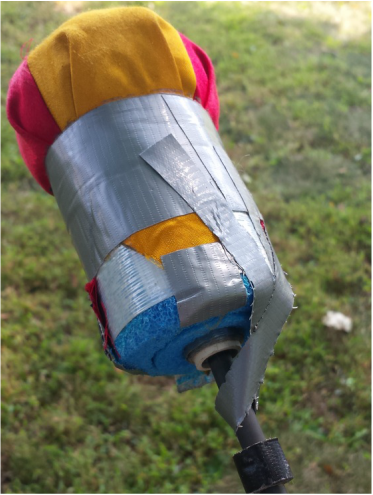
This step is something that I personally prefer to have a cleaner looking arrow. I repeat the previous step of securing the arrowhead with hockey tape. This cleans up the look of the Duck tape, as well as adds extra security in the mounting of the arrowhead. 
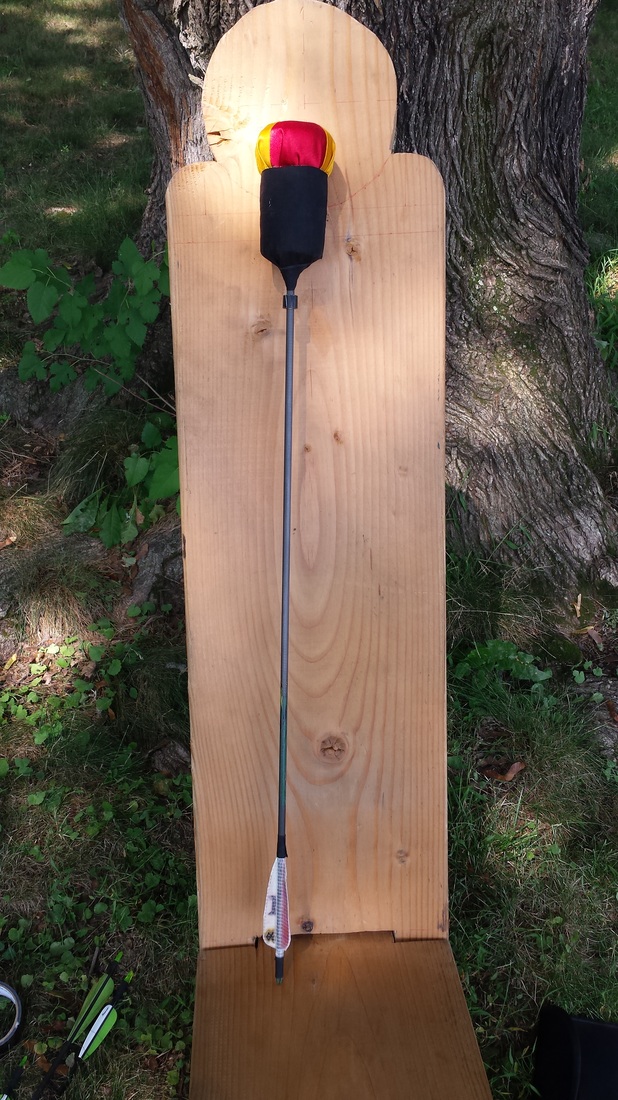
Your arrowhead has now been fully mounted on the arrow shaft. As you can see, this method works for any size shaft, and most any size arrow head. As any archer will tell you, one arrow usually isn't much good, so, it's time to do it all again, another five times or more, depending on how many arrows you feel you, or your unit, needs. |
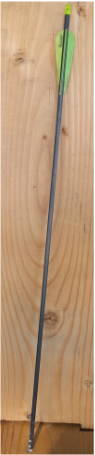
Arrow shafts come in a wide variety of material, lengths, and colors. This examples is using an Easton brand carbon-fiber shaft. It is fairly inexpensive, and is usually found at the least expensive price at the end of hunting season, but can be purchased year-round. 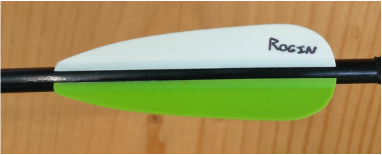
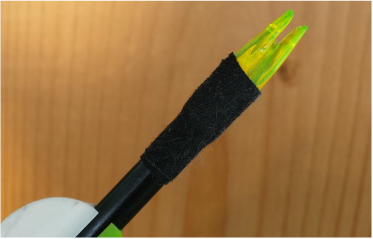
Another slight deviation also at the start. I've seen arrow knocks come off mid-battle. while rare, this is still dangerous. I tend to use a bit of hockey tape to secure the knocks on the arrow shafts. This helps prevent the knock from turning, and also adds stability and extra security for it to remain on the arrow shaft. 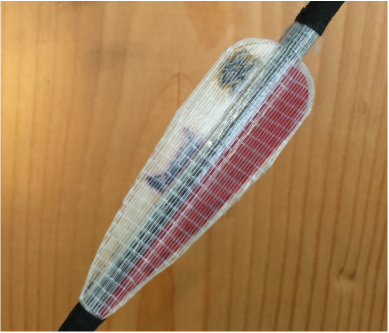
The thick strip of tape you see here is a draw stop. In Dagorhir, an arrow can only be drawn a maximum of 28", so, this strip of tape at the 28" mark allows for just that. Keep in mind, arrows are one of the few weapons that nearly everyone on the field gets their hands on, as well as the weapons checkers. I've seen some arrows where the mounting goes to the 28" mark, and that works. This method, however ensures that the arrow cannot be over-drawn, no matter what. 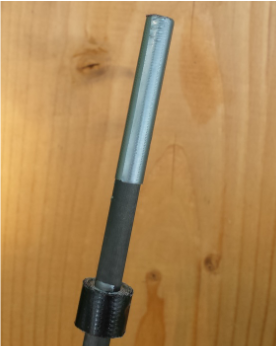
Keep adding tape until the roll at the end of your arrow shaft fits snugly inside the inner plastic core of your arrowhead. At this stage, it is recommended to test often, for even one or two wraps of the Duck tape can make the difference between a loose arrow head, and a good, snug fit. Keep in mind, a snug fit should be tight, but not so tight as you need to force the arrow head on to your arrow shaft. If it is too tight, unwrap one layer, and test again. 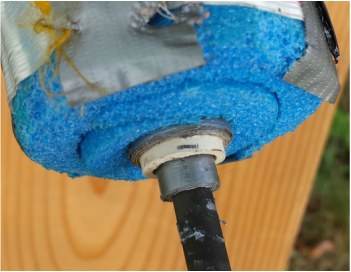
Take your Duck tape, and begin wrapping securing loops around your arrow shaft. This should give the appearence of the various "Ribbon" magnets you seen on cars, and should be fairly tight to secure the arrowhead to the arrow shaft. When you do one side, you should do the same on it's counter part. For example, if you start at the 12 o'clock position, your next one should be at the 6 o'clock, 3 and 9, and so on. When you are finished with this step, there should be no blue foam showing at all, and the arrow head should not wobble on the arrow shaft. 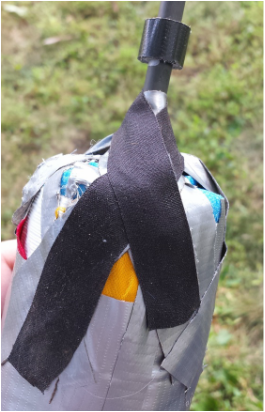
The final step, again, to give the arrow a clean look, is to secure the tops of the previous strips in hockey tape. This finishes well, and gives your arrow a smooth, distinctive look.
|