Arrowhead
Welcome back Foam-smiths! I am Bain of Rogin, here once again to teach you how to make another Dagorhir weapon. So, you wish to stay at range and destroy your foes with arrows from afar, do you? Good! This tutorial will teach you how to make a modular arrowhead. Why modular, you ask? Let's say the combat has ended, and your side has won. Huzzah! All the arrows have been gathered at the center of the field, and you notice your shaft has apparently been fallen on, and is broken. Instead of loosing the whole arrow, you can remove the head, and place it on a new shaft; minimal work required! Keep in mind, the arrow is one of the few weapons that can hit the head or face, so it will be big, and a bit ungainly to look at.
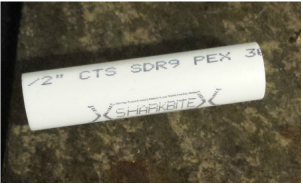
This tutorial has been written to help you build an arrowhead that will last quite some time, without being overly expensive. Again, directional references are used, as this was designed to be read on a computer. Here is a list of the tools you will need: Blue foam, arrowhead foam, 1/2" diameter PVC pipe, scissors, a razor blade, Dap cement, spray glue, carpet tape, strapping tape, duct tape, a penny, a sharpie, and cloth.
This tutorial has been written to help you build an arrowhead that will last quite some time, without being overly expensive. Again, directional references are used, as this was designed to be read on a computer. Here is a list of the tools you will need: Blue foam, arrowhead foam, 1/2" diameter PVC pipe, scissors, a razor blade, Dap cement, spray glue, carpet tape, strapping tape, duct tape, a penny, a sharpie, and cloth.
|
Let's start with the core of the arrowhead. Cut the core into about 2" pieces. This will give us a good base to start from. 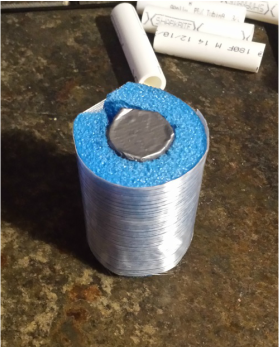
Much like a sword build, it's time to cap this layer. I tend to cut out 2"x2" squares to make the caps. These are then secured to the top using Dap. After the Dap has cured, I tend to cut the corners to allow a cleaner fit for the second layer, as shown on the right. 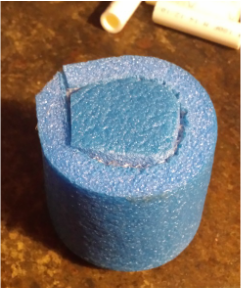
Another cap on top of the wrap you just made helps complete this step. Again, I prefer to cut the corners to give this a more even, octagonal look. This allows the rest of the steps to flow smoothly. 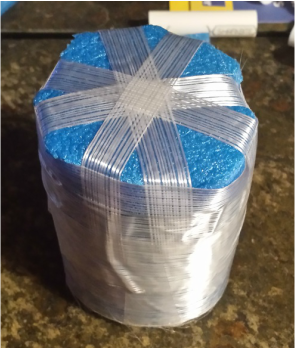
Set the core of your arrowhead aside for now. It's time to work on the actual head of the arrow. This foam comes in fairly large sheets. Mark out and cut 3" by 3" squares of foam to make the working end of the arrowhead. It's acceptable if the cuts are a bit jagged at this point. The blocks of foam should look like the picture to the right. 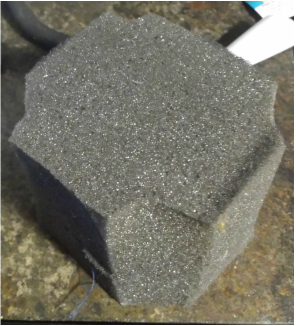
It's at this point where I tend to differ from other foam-smiths. I add an additional step of beveling to create a cleaner arrowhead profile, and to slightly reduce drag in flight. Let's face it, a big piece of foam on the end of the arrow shaft creates a lot of drag. This step also helps the arrow look cleaner overall. Use the scissors to "shave" a 45 degree angle around the entire top of the arrowhead. It should look like the image to the right when complete. 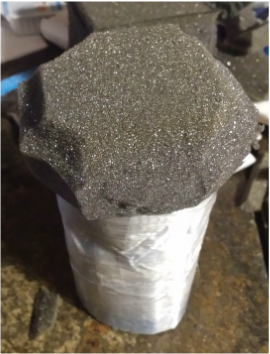
Time to cut out the cover for your arrowhead! Measure out 8" squares from your desired cloth, and cut. There will be excess cloth, so don't worry about the overhang. This will be remedied in the next step. 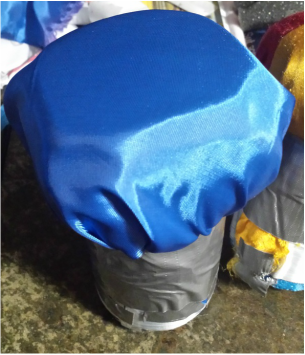
Not all covers have to be a single piece of cloth. If you have a sewing machine, or want to hand sew, feel free to use your unit's colors, or your personal colors for your arrowhead covers. It's at this stage you can use a colored sharpie to draw a design, rune, or mark your arrowheads, so everyone knows they are yours! I will cover how to attach your arrowhead to the shaft in another tutorial.
|
The second step is to take the penny, and secure it to the top of the core. This will allow the head of the arrow shaft to have something definitive to stop against, instead of breaking through the rest of your arrowhead. After the penny is secured, cut a 2" piece of camping mat foam (blue foam) and Dap it around the core. It has a tendency to peel away from the core, so feel free to secure it with strapping tape after the Dap has cured. 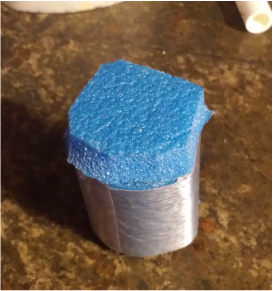
It's time to add another layer of blue foam. Align the edge of this new piece with the top of your arrowhead cap. Again, allow the Dap time to cure during this process. 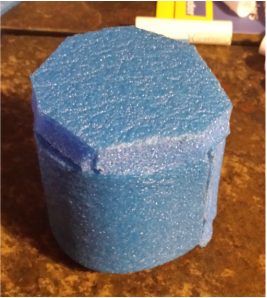
Time to secure the top cap to the rest of the arrowhead. Divide the width of your strapping tape into four even pieces. secure the top in "plus" shape in one direction, then in another. Once that step is completed, secure all the strands with a full-width piece around the entire structure. When finished, your arrowhead should look like the image to the left. 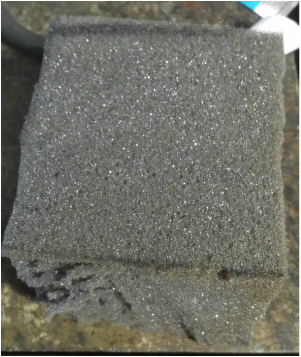
Typically, in foam-smithing, you shouldn't be cutting corners. In this case, we will, literally! (Bad joke, my apologies, but if I didn't say it, someone else probably would have.) Use your scissors to cut the corners, and only the corners off of the foam blocks. This will help shape the arrowhead, and prevent dog-ears from forming during the life of your arrow. 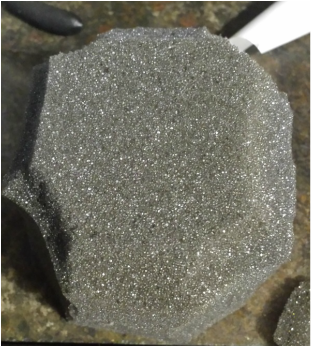
Now that the arrowhead is looking nice, let's join it to the core assembly you made earlier. Use the spray-glue on the top of the core and the bottom of the arrowhead. Allow the glue to become tacky, and attach the two halves. Finish securing the head to the core using strapping tape, covering about 1" of the bottom of your arrowhead foam. At the end of this step, it should look like the picture to the left. 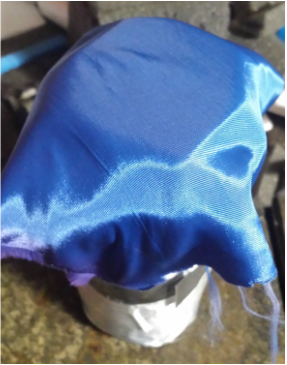
Secure the four corners of your cloth with duck tape, then fold the excess cloth in, and secure that with more duct tape. Folding the arrowhead cloth can be tricky, so a bit of patience is needed for this step. If you get frustrated, take a break with the knowledge you are almost done. After folding the cloth in, secure the whole thing with a wrap or two of more duct tape. the completed arrowhead should look like the one on the left. 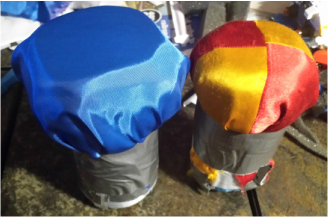
|
