Glaive
You and your forces find yourselves staring down a fairly formidable shield wall. Your buddy next to you only has a small shield and a short sword... not good. His blue weapon won't to anything to that shield wall. Well, it's a good thing you're carrying a heavy-hitting 8 foot Glave to break the shields with. What? You don't have a glave? This tutorial will fix that, giving you a red/green weapon to bust some shields with. Keep in mind, as with the other tutorials, this is designed to be read from a computer. Additionally, a red weapon normally should not be your first build, as they can be unwieldy. I recommend starting with the single-handed sword tutorial.
In this tutorial, you will need the following tools: Spray glue, blue foam, open celled foam, scissors, Duck Tape, Carpet Tape, Hockey Tape, Cloth for covers, Razor blades, a yard stick or measuring tape, Ladies trouser socks, Dap, Rope or clothesline for the grip, a quarter, a sharpie permanent marker, Green electrical tape, and Red electrical tape.
In this tutorial, you will need the following tools: Spray glue, blue foam, open celled foam, scissors, Duck Tape, Carpet Tape, Hockey Tape, Cloth for covers, Razor blades, a yard stick or measuring tape, Ladies trouser socks, Dap, Rope or clothesline for the grip, a quarter, a sharpie permanent marker, Green electrical tape, and Red electrical tape.
|
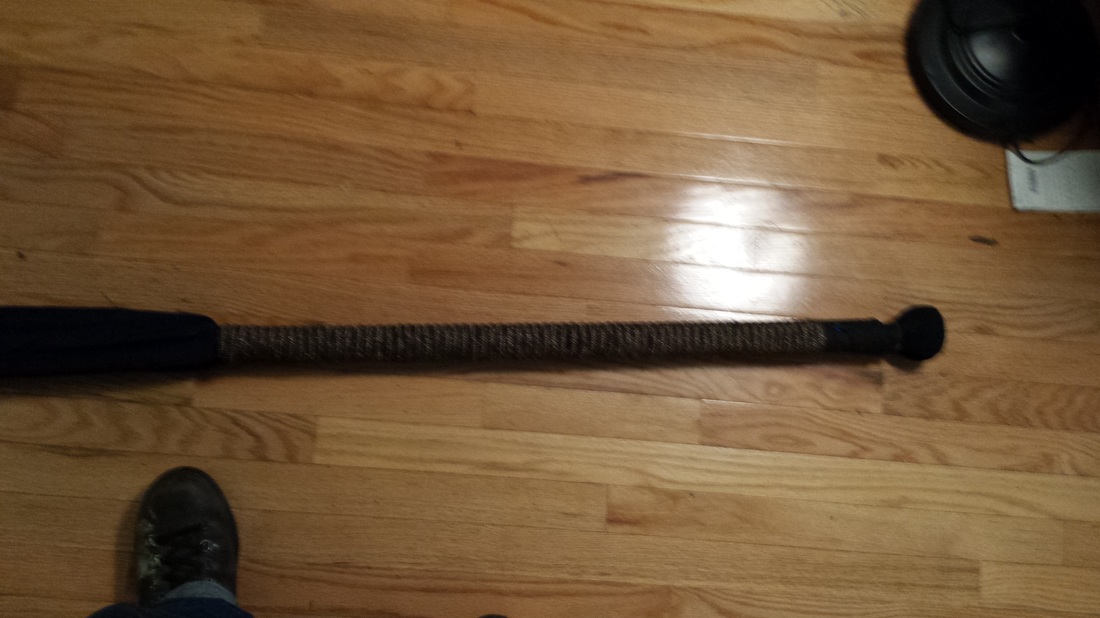
This core started it's life as a spear eight feet in length that didn't quite pass muster. Now, in Dagorhir a majority of a weapon like this must be padded. Aside from a few inches for the pommel, i took a comfortable grip on the core, marked it then began padding, over 1/3 with one layer, a second 1/3 with two, for safety. I marked the core before beginning.
Like the sword builds, this starts with a simple box. Shown at right are the two strips that cover 2/3 of the core, and are as wide as the diameter of the core. Again, reference the single-handed sword tutorial if you are not sure by the "box and blade" method of building. 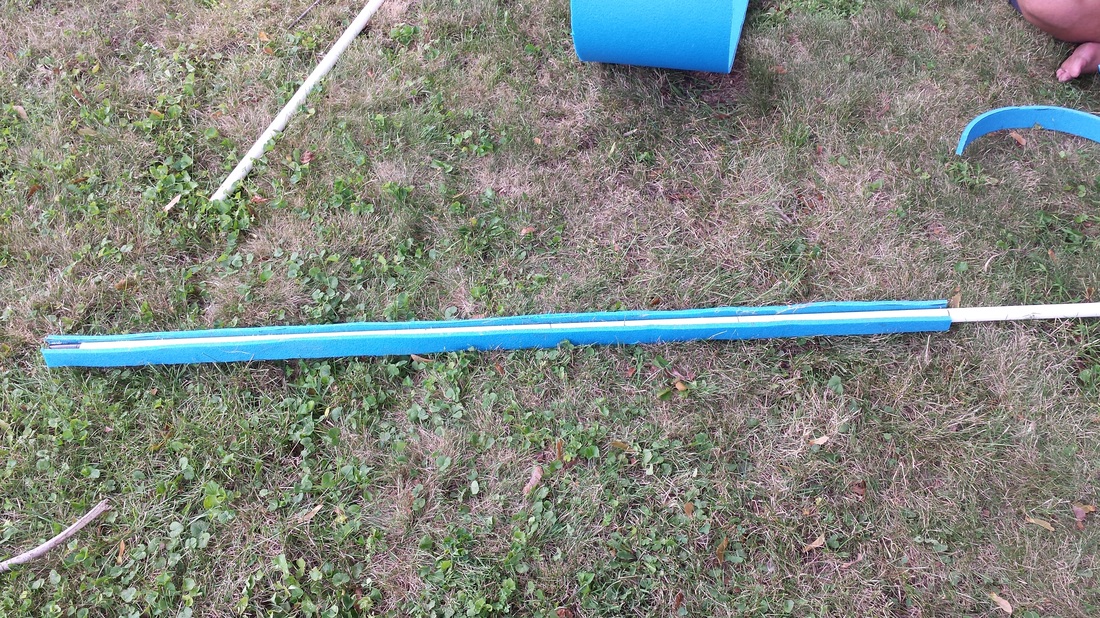
After the compete box has dried, cut out a square piece to complete the cap on that section of the build. I then measured and marked the blade for over 1-2 of that padding in order to make a second box, in order to keep the weapon safe. Glue the new sides of the second box perpendicular to the thicker sides of your previous box.
Normally, this step isn't necessary, but I was trying out a new style with this build. I've beveled the edge of the final cap in order to help the open-cell foam bend easier. Typically, I use two pieces of open-celled foam in order to complete this process. If this is your first glave build, use two pieces of foam, one to cover the top of the cap, and the other will be the entire striking surface. 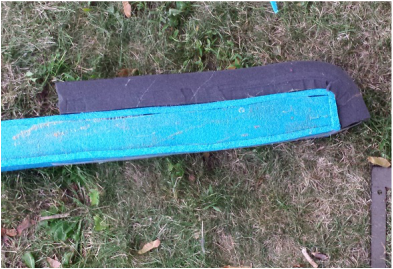
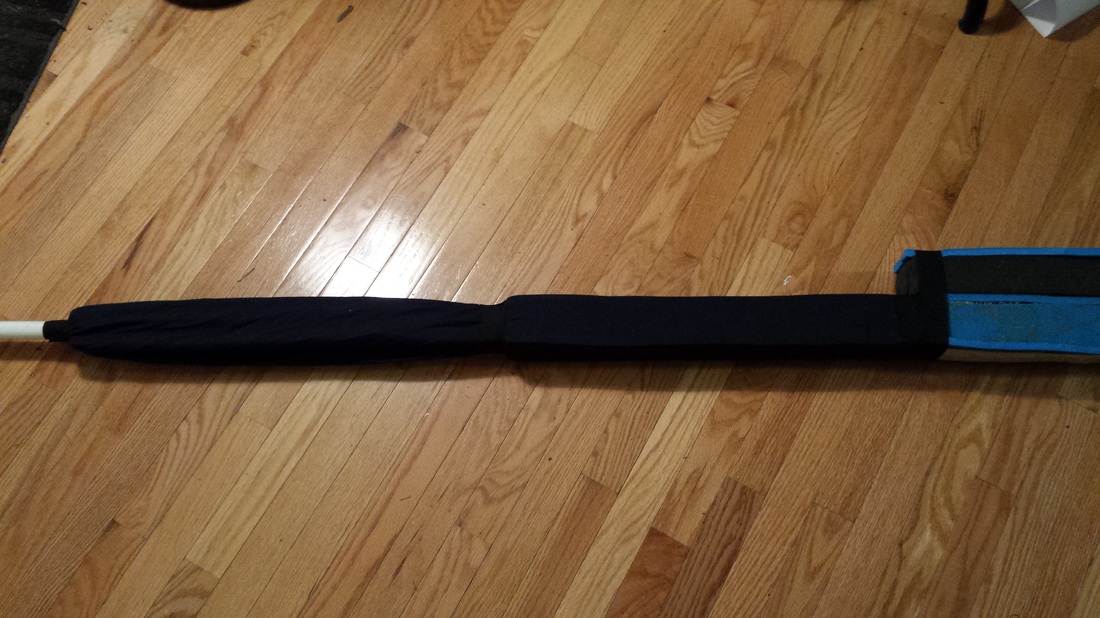
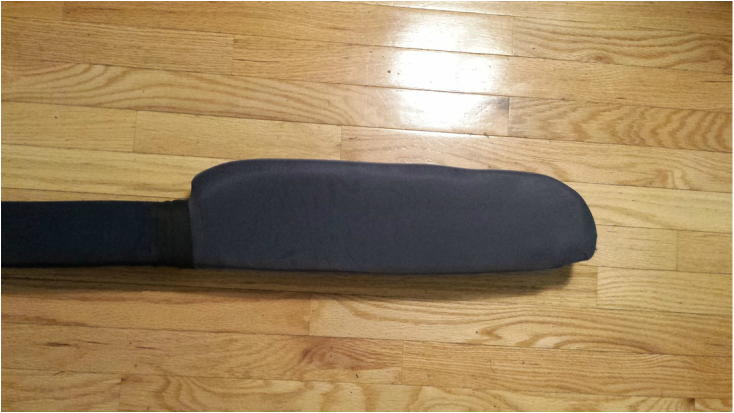
The next step is to cut out a piece of blue foam to cover the open cell with. This adds stability to your weapon, and gives a definitive feeling upon impact with a fighter. Once that piece is dry, it's a good time to make a cover for the haft of your weapon. I taped the cover at the end of each box in order to make the stepped appearance of the weapon.
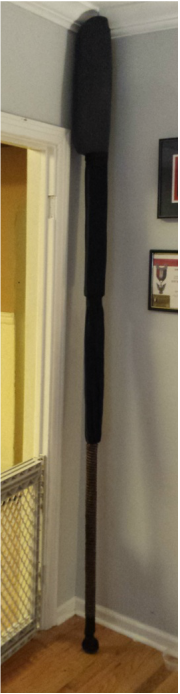
Again, I do not have access to a sewing machine, so, black lady's trouser socks stretch enough to cover the striking surface, and since the toes are sewn in, this eliminates the possibility of "Dog ears" on the weapon cover. Secure the bottom with Hockey tape. Please excuse the poor photo quality, as it is difficult to photograph an 8' weapon indoors.
|
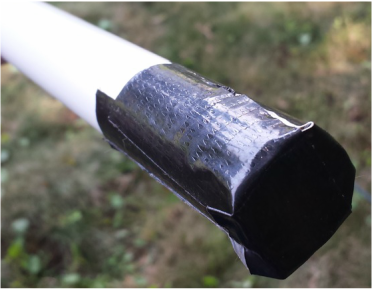
First, let's cap what will be the striking end with the quarter and Duck tape. This helps prevent the core from punching through the foam as quickly, and rendering your weapon unusable. 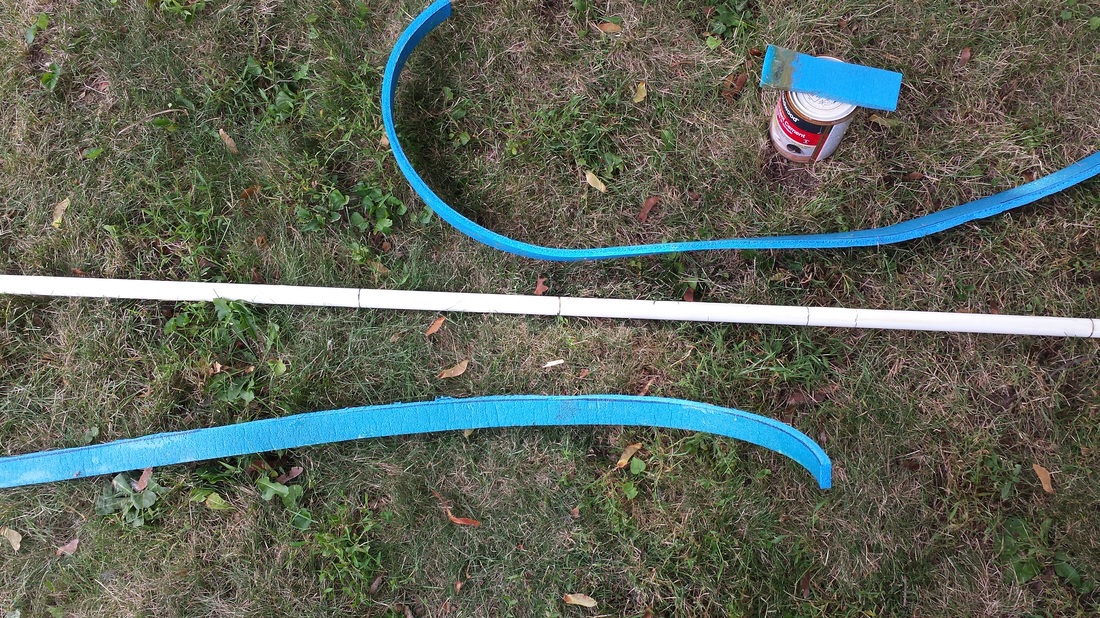
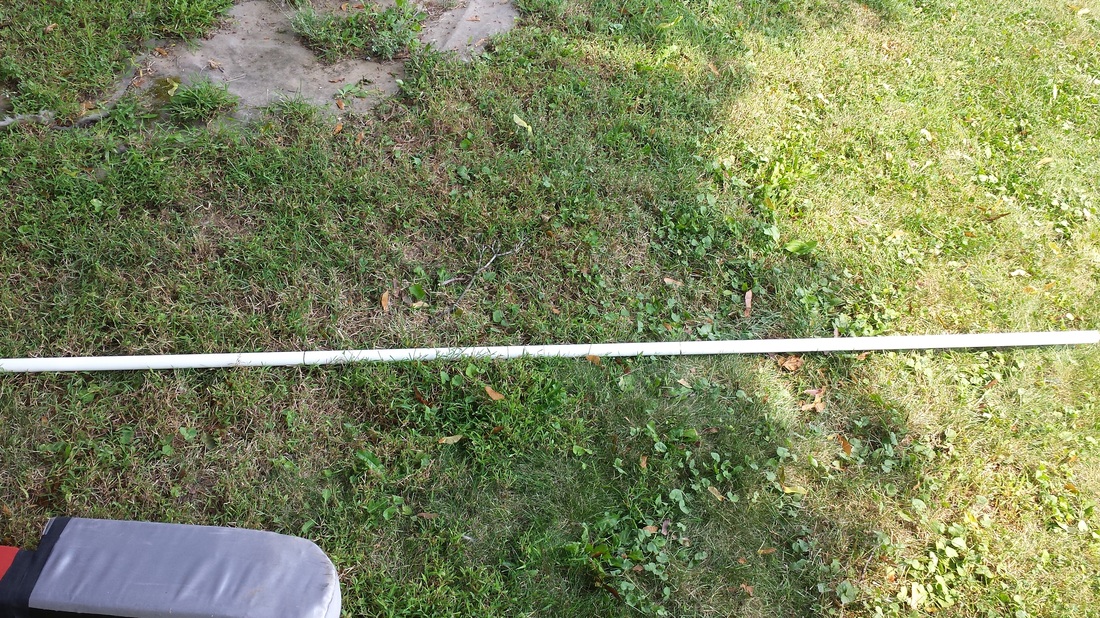
After the Dap has dried, measure the new total width of your core, and cut two more pieces to complete your box. 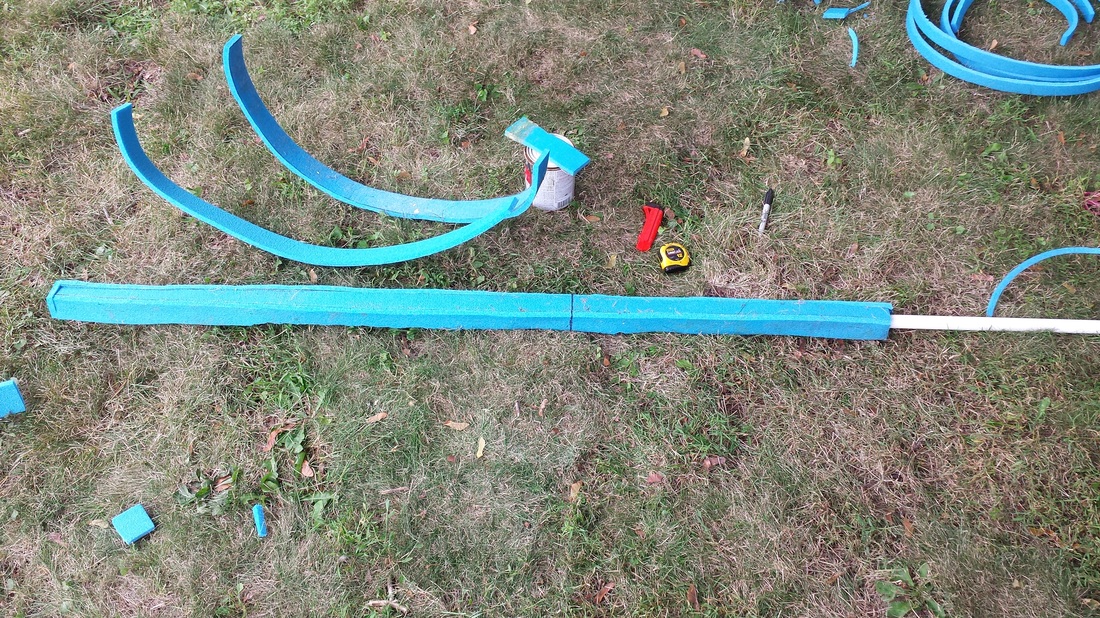
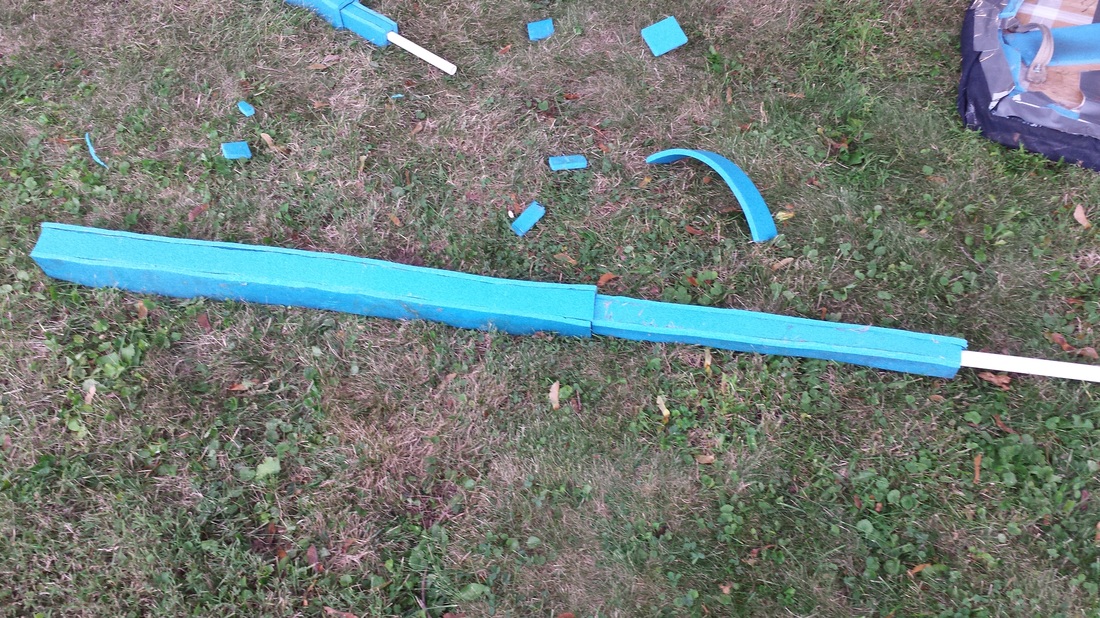
As with the previous steps, measure the new width, and glue on two more pieces to finish a second box over the original. This will ensure that even if a fighter gets past the head of the glave, it will be unlikely to injure the fighter. 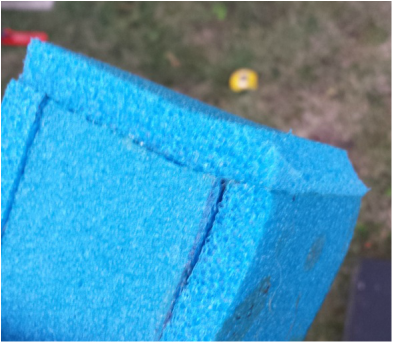
Again, I deviated from my normal build style in this example. But, the attachment of the open-cell foam remains the same. Use the spray-glue on one side of the open-cell, and on the core. Wait until the glue is tacky on both pieces before attaching the open-cell foam to the box. If you opt to use two pieces, simply use this image as a guide for the approximate placement and size of your foam.
The next step is the oblonging of the handle, and the building of the pommel. You don't need to oblong the handle, but I find it safer, and easier to use, preventing a fighter from flatting, or hitting with the wrong end. You only need to oblong the side with the striking edge of this weapon, as it is single edged. If you do not know how to build a pommel, please see the single-handed sword tutorial.
This weapon is now completely covered, and prepped for battle. I recommend waiting at least two days for the Dap to "gas out", and truly harden for maximum effectiveness before taking this weapon to the field. Keep in mind, since the top of this has open-cell foam, that top piece is now a "stabbing point", allowing you to use a two-handed stab to penetrate the armor of your opponents in a single, forceful thrust! Now, just mark the pommel of your weapon with the red and green electrical tape, and you are ready to splinter shields!
|
