Javelin
You find yourself in the midst of a battle, the enemy line is approaching, but out of range of most weapons, save arrows. They are still approaching, but running in with your sword and shield would be a quick death. The advancing army seems to be content in letting your archers run out of arrows. You need to strike at them, but you're not an archer, nor do you have any rocks. A comrade encourages you to grab a javelin and strike them with it. Hm? You lack this weapon? Let's remedy this situation, shall we?
This tutorial is for an inexpensive to build Javelin, made primarily out of blue foam. You will need the following supplies: Blue foam, Hockey Tape, Strapping tape, Dap, Duck tape, Scissors, a razor blade or box cutter, 3/4" CPVC Pipe, open-cell foam, spray adhesive, green electrical tape, and cloth for the covering.
This tutorial is for an inexpensive to build Javelin, made primarily out of blue foam. You will need the following supplies: Blue foam, Hockey Tape, Strapping tape, Dap, Duck tape, Scissors, a razor blade or box cutter, 3/4" CPVC Pipe, open-cell foam, spray adhesive, green electrical tape, and cloth for the covering.
|
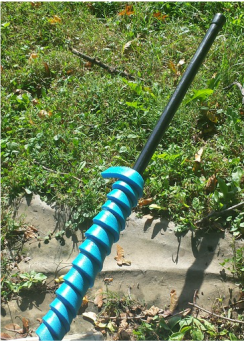
Javelins are one of the few weapons that can be thrown legally. They also often do strange things in flight, but, that's why they're completely padded. Let's start with the CPVC Pipe. CPVC is cream in color, and has thinner walls than schedule 40 (white in color). Cut your CPVC to 44". Cap the end you designate as the "front", and begin to Dap the entire pole. Cut out strips of foam, much like in the spear tutorial, and give this the same treatment; a spiral wrap. 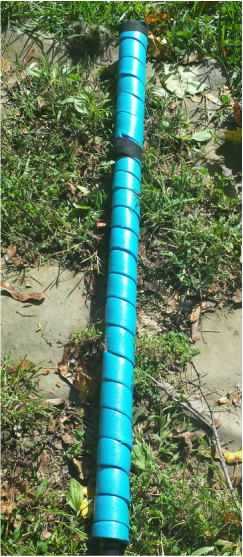
Here comes a fun part. At the top of your javelin, add a couch wrap. The couch wrap goes around the entire head, and creates a more stable surface for the open cell on the actual head. After the couch wrap is finished, add another cap on top. The picture to the left shows a completed couch wrap, after the bottom edge has been beveled.
This step is where we add the business end of the javelin. I cut out a block that was 3.5" square from my large sheet of open cell foam. This is the same kind of foam used in arrowheads and spear heads, so, it received the same beveling treatment on the block corners, and the top of the block itself. This gives it a unique look, as well as making it a bit easier to attach to the shaft. The beveling on the top of the head also makes it easier to cover later on. 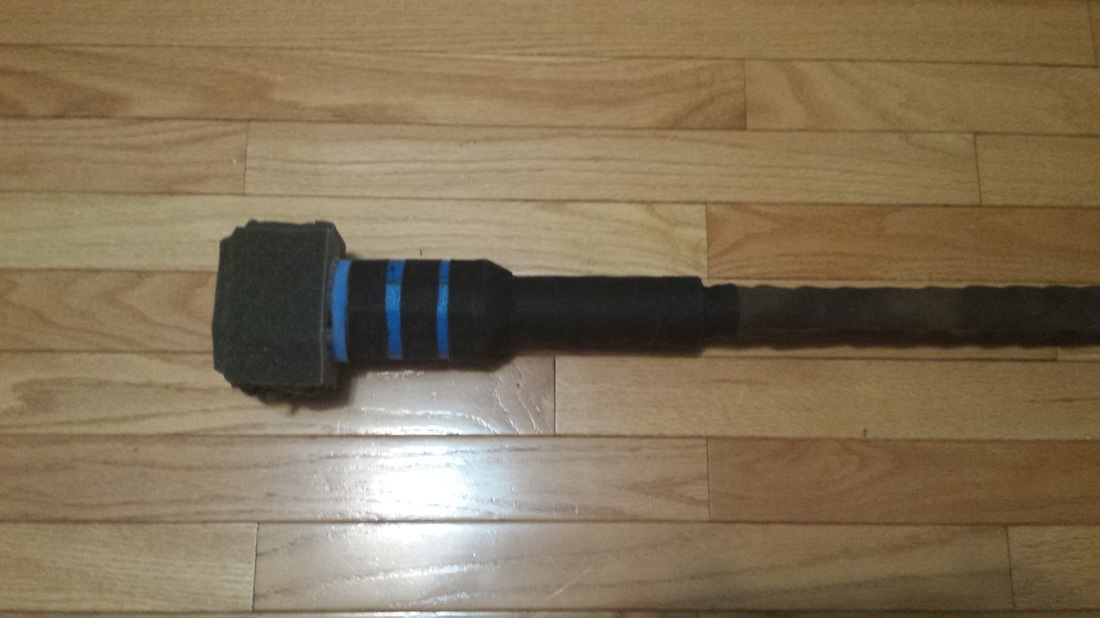
Much as the spear and arrow tutorials, you can now cover the top of your javelin in the same fashion, with yellow cloth. Yellow is specifically called for, so as not to confuse a thrown javelin with a short, padded, skirmishing spear. Keep in mind, in close quarters, javelins are still stabbing weapons, and can be used as a spear if someone closes in on you. The javelin, according to the rules, must fly its own distance in order to be thrown, so, be careful. If you're unsure, ask a herald. After the cover is secure, you can use more hockey tape to cover the couch wrap, and any courtesy padding you may have added. This javelin was tested just after the build, hence the dirt on the hockey tape. 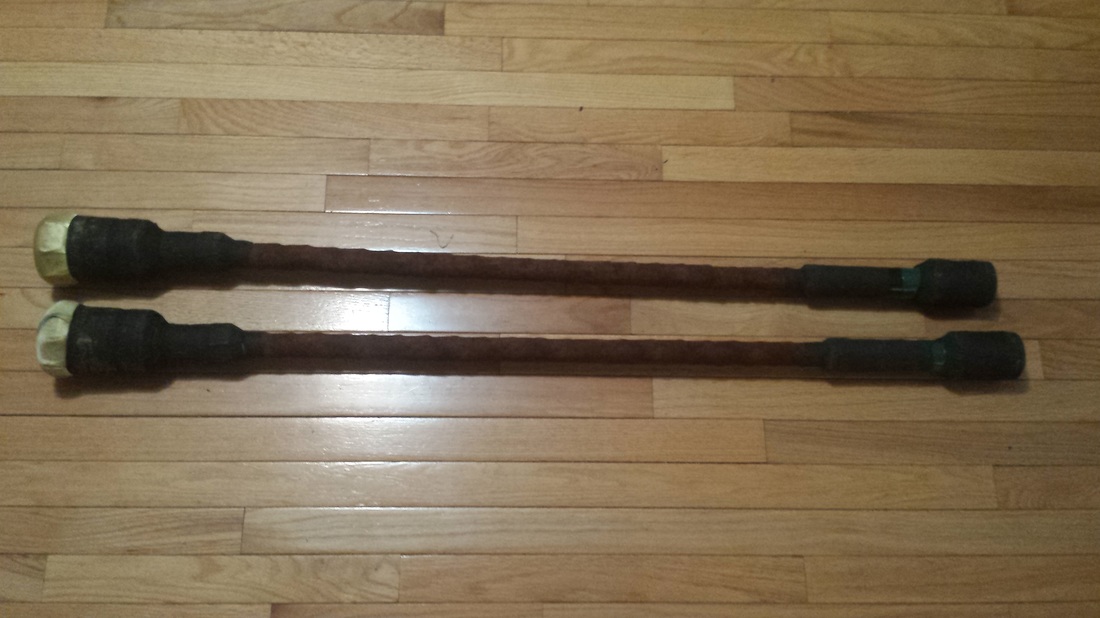
|
Keep wrapping your javelin, until all but the space for the pommel is covered. No matter how well you cut your foam, you will inevitably have spots where you need to join two sections of foam. That's OK. I recommend using hockey tape on these sections, along with the Dap. This ensures the two sections will remain joined. This is also not part of the striking surface, and the tape is soft, so having it on the courtesy padding is still safe. When you're done, add a cap to the top of your javelin. 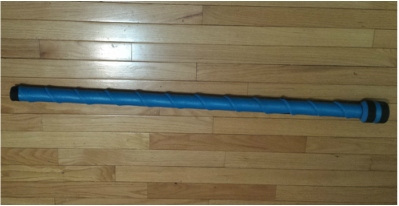
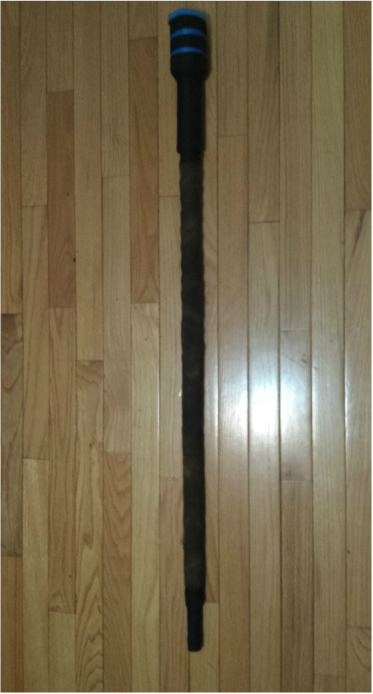
This javelin is a little different, but will still be built the same. instead of a thick wrap for the core, my strips were 1.5". I also added a longer courtesy wrap before I added the two layers of couch wrapping. You don't necessarily need to add the courtesy wrap, but, for this javelin, it helped act as a bit of a counter-balance with the pommel and the head.
This is also a deviation from normal for a bit- now is a good time to cover the shaft of the javelin. I know, you're thinking "But, Bain, why not wait until the end, like all the other builds?" And, you are right to ask that question. The answer is easy. Unlike other builds where you can slip a cover on afterwords, the size of the pommel, and with how thin I tend to builds the shafts, it's much easier at this stage to add the cover now, than it is to try and sew a cover on after a pommel has been added. If you're using a thicker core wrap, you won't see the extra padding on the top. 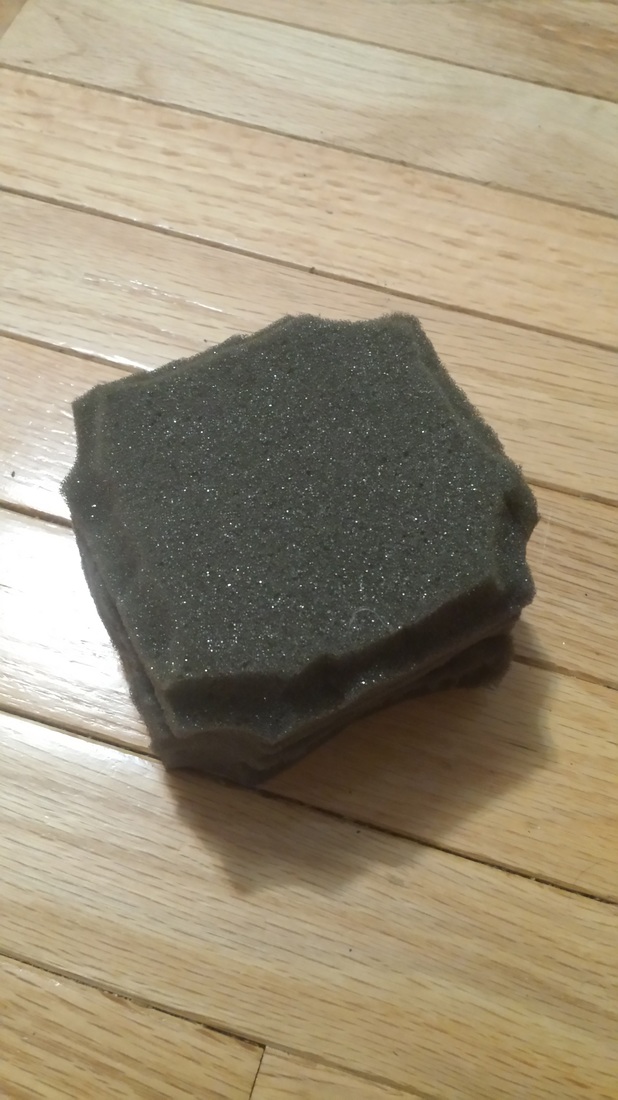
Spray glue time! Spray the bottom of the foam head, and the top of the couch cap. Wait until both are tacky, and stick them together. Once they've adhered for a bit, say, 15 minutes, use Duck Tape to secure the bottom of the striking head onto the couch wrap.
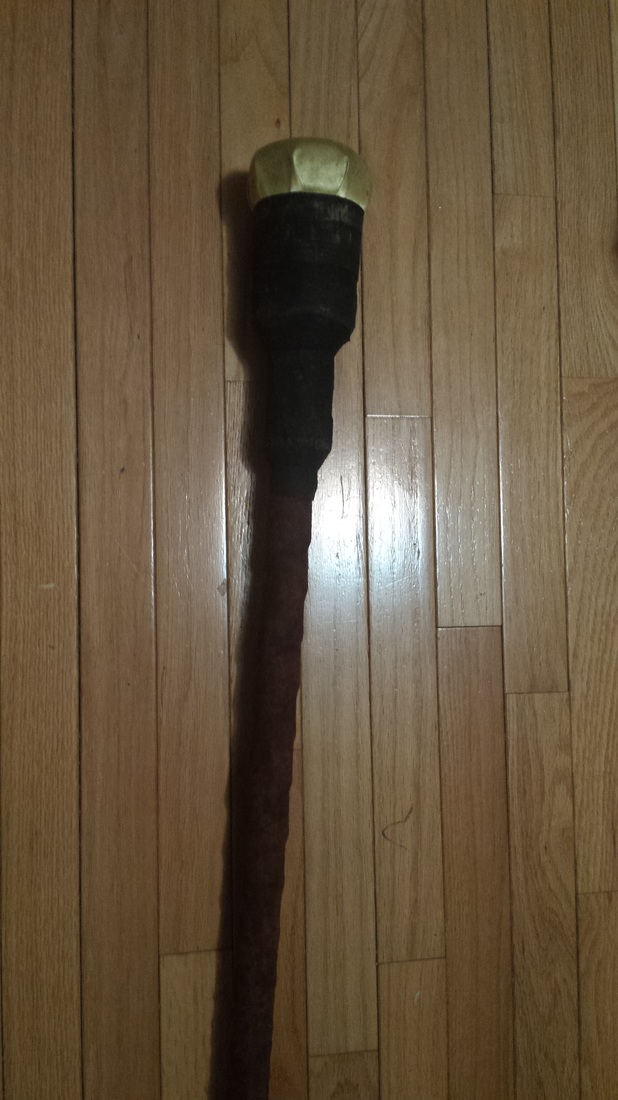
The final step is to add a pommel. I tend to run a bit of courtesy padding as part of the pommel, just to help counter-balance the head. After this padding is complete, I build the pommel similar to the couch wrap at the head, again, to balance the weapon for throwing. When finished, it should look like the pair in the picture.
|
