Core-less Punch Shield
You have heard the call to battle, and have grabbed your blade. You see warriors heading off the the field, and your opponents are advancing. One group forms a pike block, and you are called upon to form a shield wall beside them. Hmm? You have no shield, and your off hand is empty? You can't join a shield wall without a shield, now can you?
This tutorial will teach you how to build a basic core-less layered shield. This is an easy first shield for new fighters, but is recommended to be kept to a small to medium size, as larger shields built this way may not stand up to shield-kicks. This is a great skirmishing shield, lightweight and easy to maneuver.
You will need the following supplies; Blue foam (2-3 rolls, shields eat foam), razor blades or a box cutter, Dap contact cement, a sharpie marker, PVC Pipe, and cloth. Optional supplies are Gorilla Tape, para-cord or thin rope for the grip, and Hockey Tape.
Special thanks to Gilrean for her assistance in making this tutorial possible.
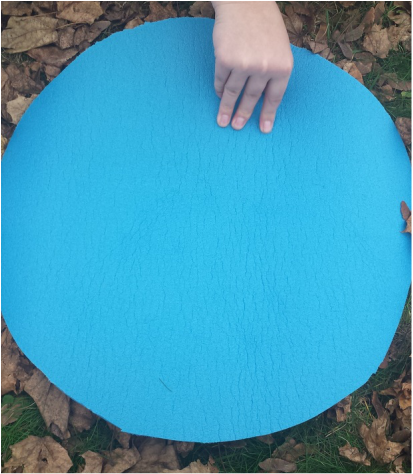
The second step is to determine how large, approximately, you want your shield to be. keep in mind, this shield will grow slightly depending on how many layers of foam you place upon the rim. That step will come later. Here, Gilrean has drawn and cut out a shield to a reasonable size and will use this single piece as a template for later. 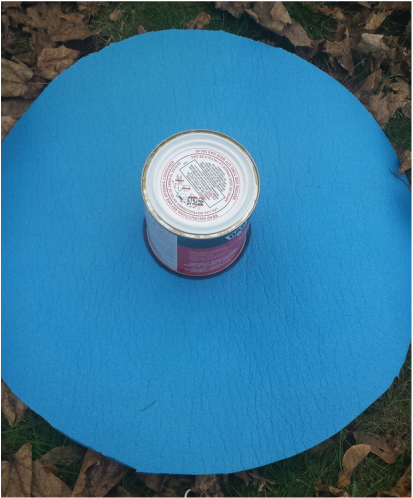
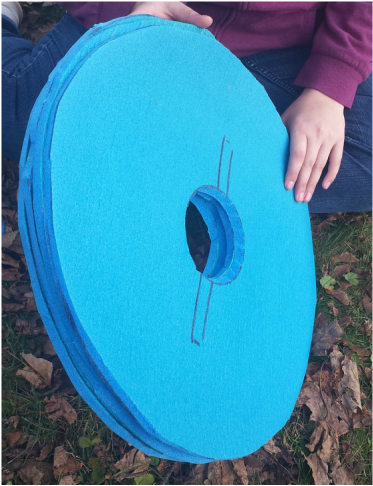
The next step, to make your life easier, is to trace your grip on to the foam, about where you want it over the hole. You will need extra on both sides, as this is part of the anchor point for your grip. If you trace it and are unhappy with the position, simply flip the shield over and try again. 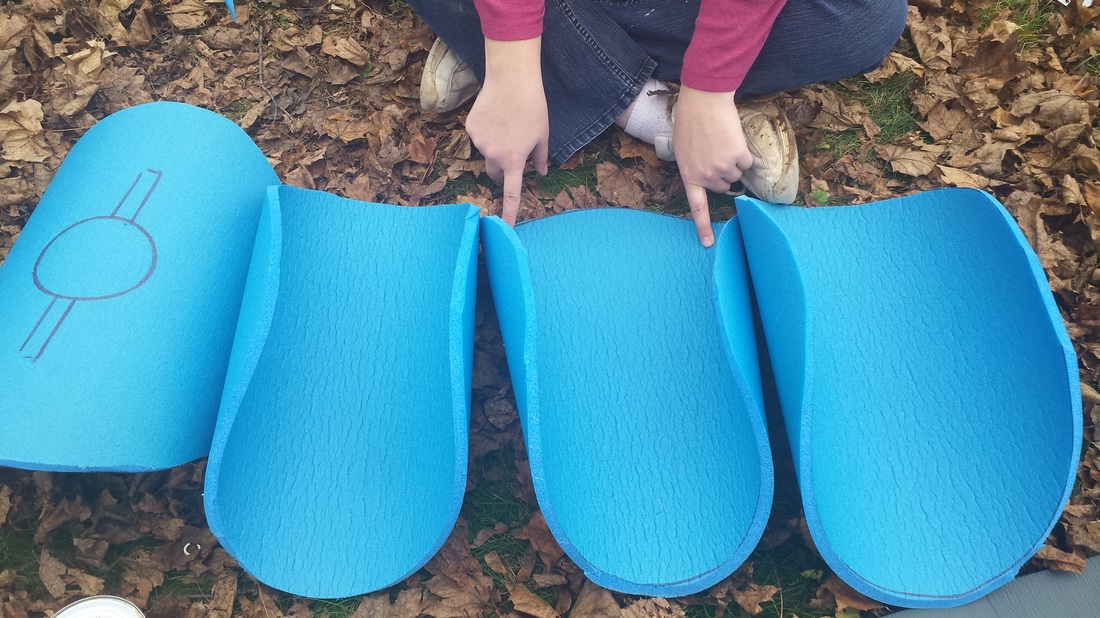
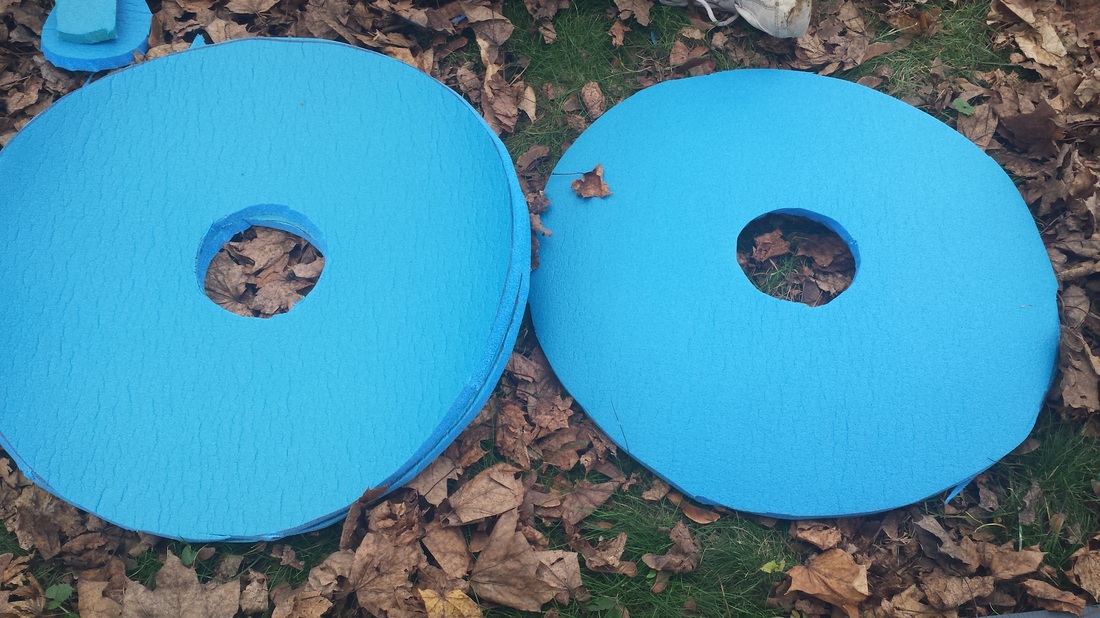
Remember that circle we traced with the can of Dap? Time to cut it out, and remove it. (These pieces can be used later for a "shield boss" if desired). Because the other pieces are traces of the original, it should be fairly easy to just lay the template piece on the others, trace, and cut.
After the two halves have cured, you can now create the whole shield. Don't fret if the edges are no longer perfectly aligned, or if they weren't quite cut right in the first place. You can use a box cutter blade, or a longer blade (like the type of box cutter blade that snaps apart to reveal a fresh blade) to clean up the edges after the whole shield has cured for a bit of time. 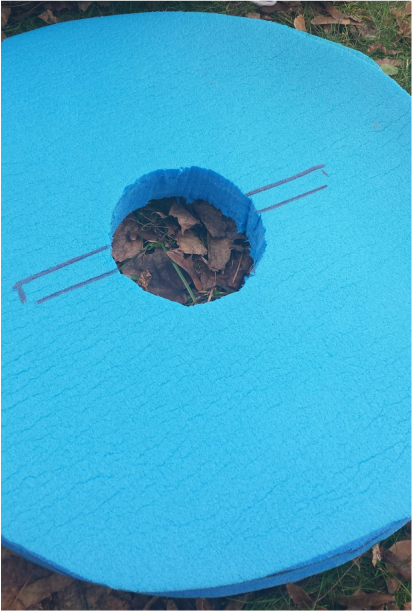
Dap the newly sliced areas of your shield, and whatever bits of your handle that will be inside of those areas. Pop your grip in the shield, and let it cure. After it's dried, you can take scraps of foam, such as the center from the pieces you cut out earlier, and Dap them over the exposed grip, leaving a bit of extra extending out on all sides. This will cement the grip securely within the shield, as well as provide structural support around the edges of the grip, as seen to the right. 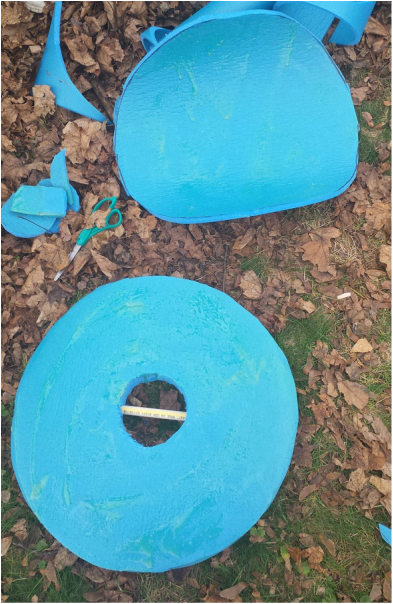
Rim-shot! After the front has cured to the rest of the shield, it's time to add the rim. Measure the width of your completed shield, and cut a strip of foam to match. It's OK to have overlap, as this can be trimmed to meet cleanly at this stage. If you wish to add a rope grip to the handle of your punch shield, this is a good opportunity to do so. I tend to add a rope grip, and hockey tape on top, to add to the overall grip of the shield as a whole. 
Cover your shield. If you can't sew, that's fine. Either a stretchable fabric, or a few cuts, folds, and some Gorilla Tape will secure your cover on just fine. Add a bit of paint for a personal touch, and you have a unique shield that will stand out on the field!
|
This build starts with the shield grip. depending on the size of your shield, the core is typically 1-2' long, but can be tailored to fit your personal preferences. The reason this is called a core-less shield is because the blue foam itself forms the foundation if the shield.
Before more layers are cut out, it's a good idea to determine the hand hole and mark it for reference later. An easy approximation, unless you have larger hands, is the bottom of your can of Dap! On most of us, a hole of this size fits fairly well, and will give you constant to use for future shields. Great if you're trying to get a group of you up and running for the next battle! 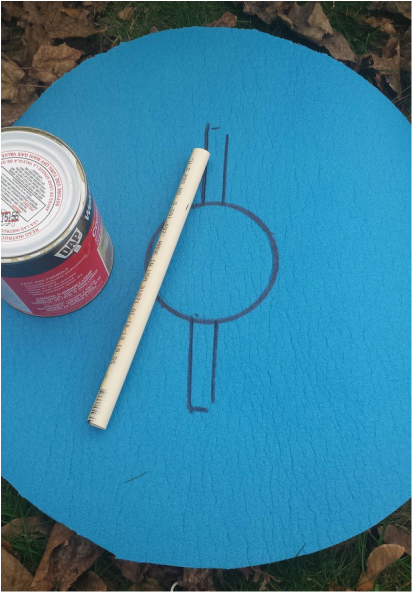
Use the piece you have marked as a template, and cut out 3 to 4 more circles. keep in mind, the more parts you make, the thicker your shield.
Don't worry if the new parts "taco" on you, as Gilrean shows here. This will be corrected soon. 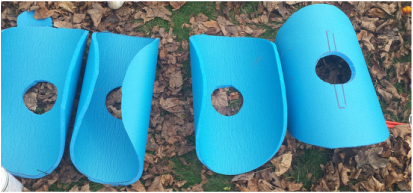
Time to Dap! I recommend making two halves at this stage, as it is far easier to glue two pieces together. Make sure the grip markings are on the outside facing of one of the halves. I know what you're thinking. "But, Bain, wouldn't it be easier just to Dap all four pieces together now?" Well, yes, but at the same time, a resounding "No". This method allows the halves to cure properly, and without worrying about how to let a piece of foam sit wile the Dap on both sides dries.
Before you rush off to put a facing on the shield, you may want to pay attention to the lines you marked earlier for the handle. Take a razor blade, and cut these marked pieces out of the first layer. You may need to go into the second layer if you are using a piece of PVC that is larger in diameter. Before you Dap your handle, you should test fit it in the shield, that way, if you need to remove more foam, you can. It's always easier to cut away more foam, then it is to have your handle pop out in the midst of combat. 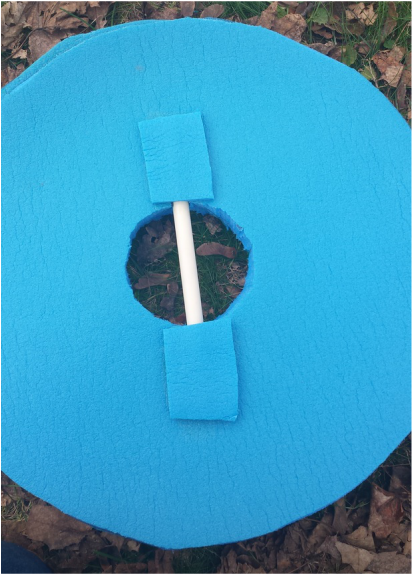
This would be a good time to clean up those edges, if you haven't already done so. Once the grip is secured, trace out another circle, and Dap it to the front of the shield. 
Time to add the Boss to your shield. This is not just decorative. Like a historic Norse shield, the boss helps protect your hand. Trust me, a two-handed weapon to a bare fist isn't fun at all. I recommend making the boss a bit bigger than the overall cut out, as it will allow greater protection for your hand, and give it a nice Norse-esque look to the shield overall. 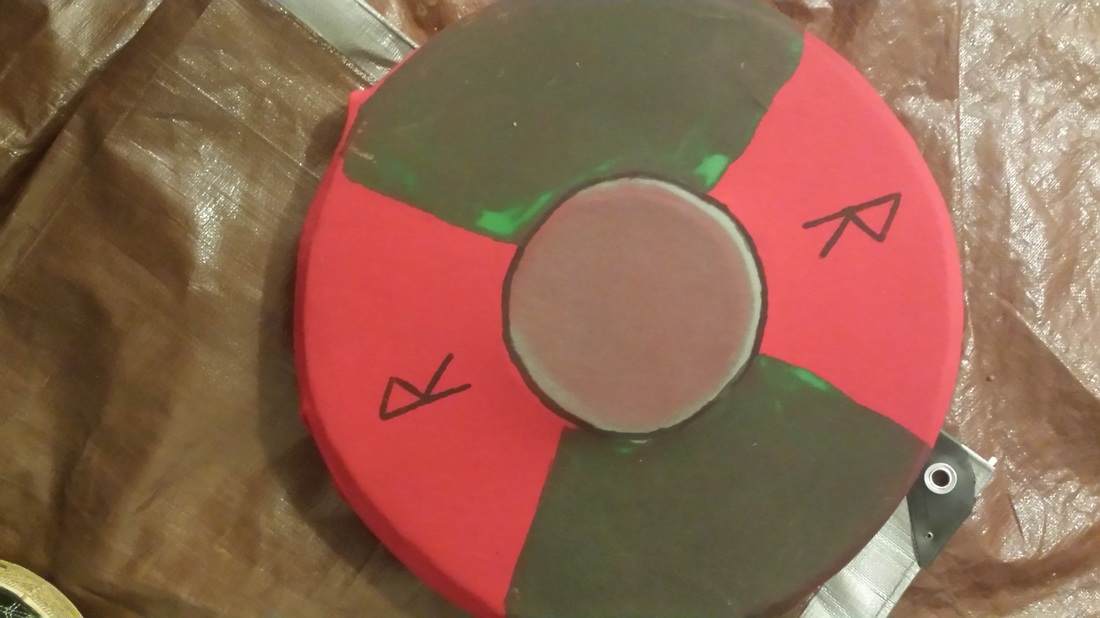
|
