Cored Strap Shield
You and your compatriot have set off to join the fray. Your friend wields a hefty two-handed sword, and is sticking to your side, ready to fend off any would-be attackers. You level your spear, and prepare for the onslaught. A two person team of tower shields and swords is coming at your open side. Your friend moves forward to keep at your one side, but you realize you have an opening in your defenses; with two hands on your spear, you can't block any incoming attacks. It was good forethought that you strapped a shield to your arm. What's this? You don't have a strap shield? We should fix that before your open side becomes an opening for your opponents.
This build is for a basic strap shield. This shield can be of any size, and works well with medium to large shields. Special thanks to Bjorn Mire-Forged for his aid in making this tutorial.
You will need the following supplies: 3/4" thick plywood (1/2" can work for smaller shields), a jig saw, a drill (with a suitable bit to cut holes for straps), a box cutter or razor blade, 3-4 rolls of foam (depending on size), a sharpie marker, hockey tape, Dap contact cement, cloth/Velcro/leather belts for straps (cloth and Velcro recommended), cloth for the cover, and paint for your shield.
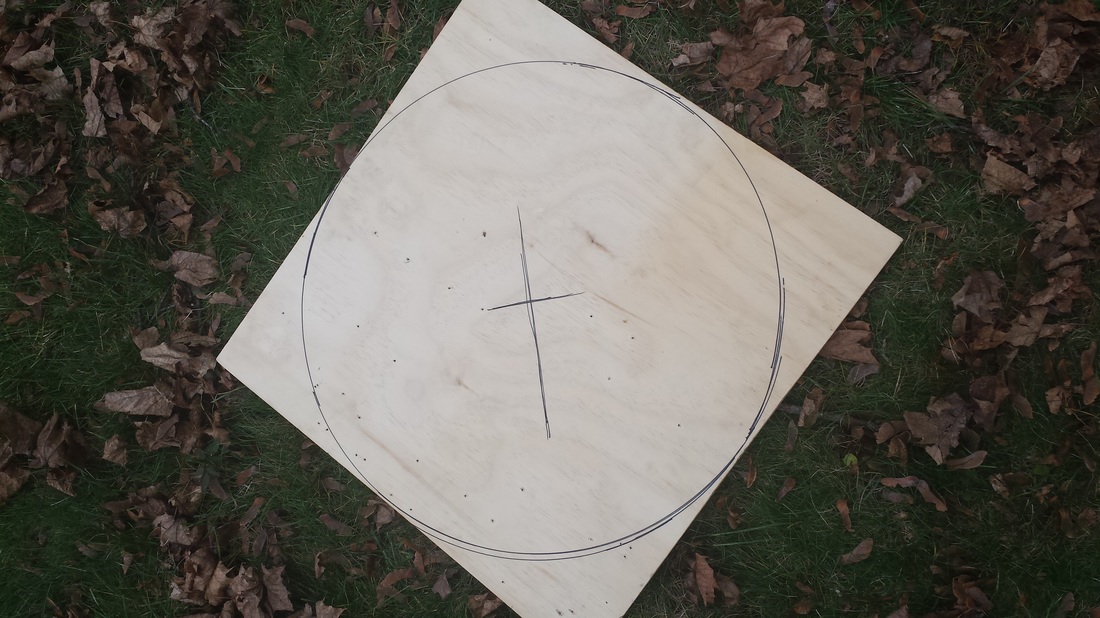
After the shield is marked, use a jig saw to cut out the circle, or other shape, you've chosen to make your shield. After the core has been cut, determine where you wish your straps to be. Keep in mind, you can either wear this on your upper arm, or use one of the straps as a grip, and the other on your forearm. Mark these locations with a line, and the ends with a circle.
No matter what kind of strap you are using, fit the straps through the holes now, and make sure the grip feels right. This is the last stage you will be able to make adjustments to the straps, as far as placement goes. 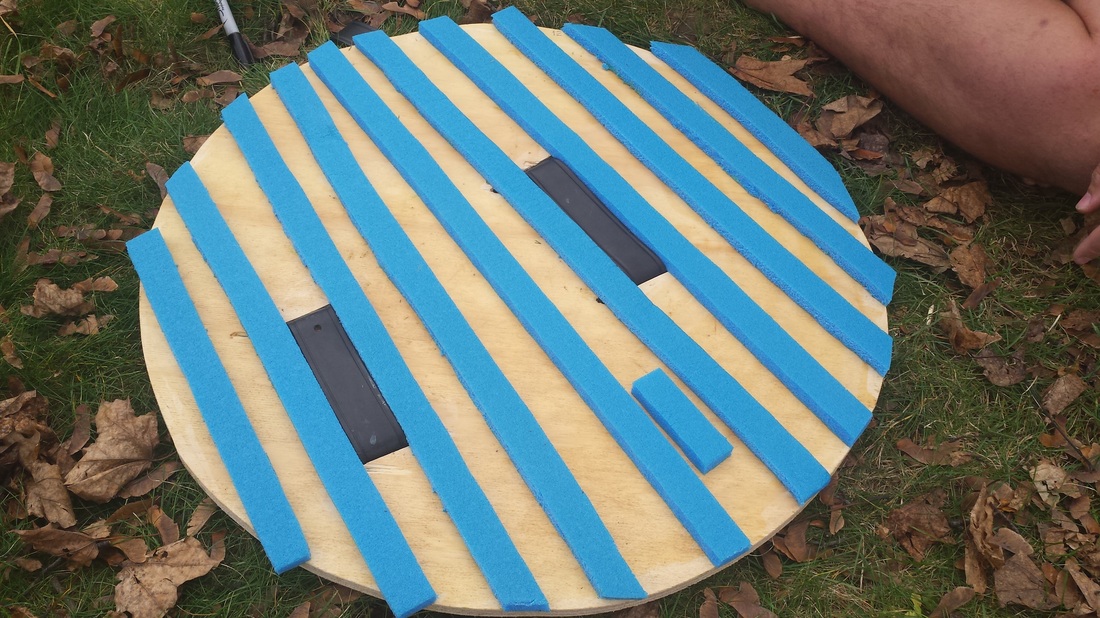
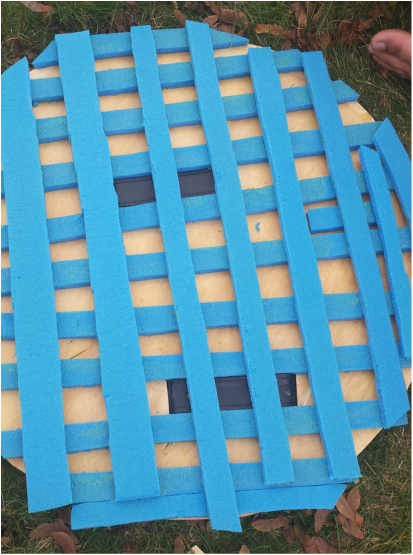
Once your first layer of foam has dried to your shield, you can start on the second layer, adding it at a 90 degree angle to the first. This build is sometimes called a "Waffle Build" for how the shield is layered in foam strips, instead of foam sheets. 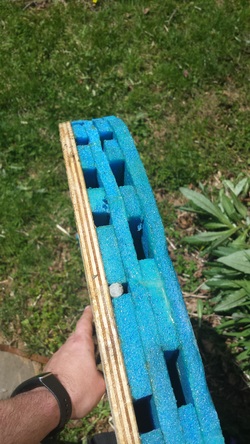
The fourth layer of your shield will be solid, as it is the face of your shield. Most shields are either too wide, or too long for a single roll's with of foam. That's fine. When you come across this situation, simply cut another piece to fit, and use Hockey Tape to help secure the seem as the Dap cures. This method can be applied to any style or shape of a shield.
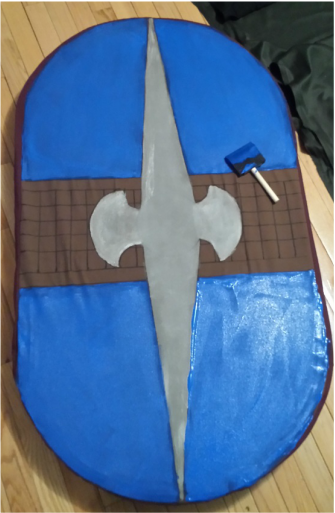
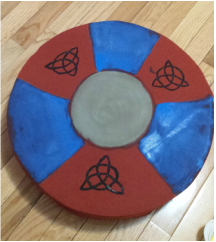
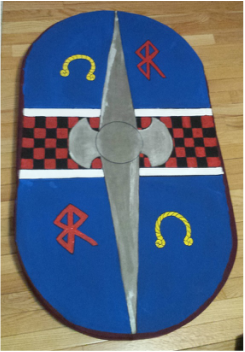
Cover your shield! Your shield is your own, and can be anything you wish! I tend to recommend duck cloth for the cover, as it is highly durable. For smaller shields, a stretchable fabric will help. The cover depicted was sewn by a friend, and has a drawstring back, allowing the cover to be tightened to truly hug the shape of the shield. After your shield is covered, you can paint your shield, and add your own personal touches. At this time, I also recommend, for your arm's sake, adding a layer of foam where your arm will sit, as being against bare wood all day isn't a fun experience.
If you are making a larger shield, do your knee a favor, and put some foam where your knee will sit against your shield as well. This comes in handy when you are part of a shield wall. |
Strap shields require tools, and a bit of planning. First, measure and mark the center of your shield. After the center is determined for a circular shield, use the center point to mark out the edges of your core. This will grow larger, as we will be adding several edge layers of foam. This tutorial will have two examples, a round, and an oval shield. They were built the same way.
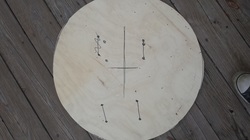
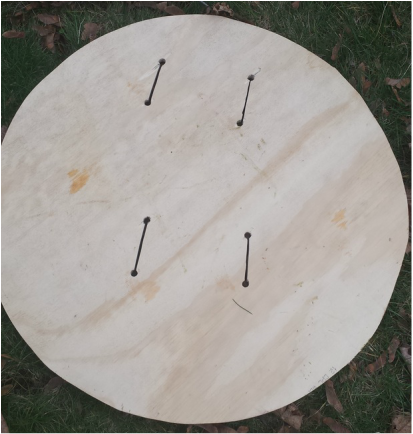
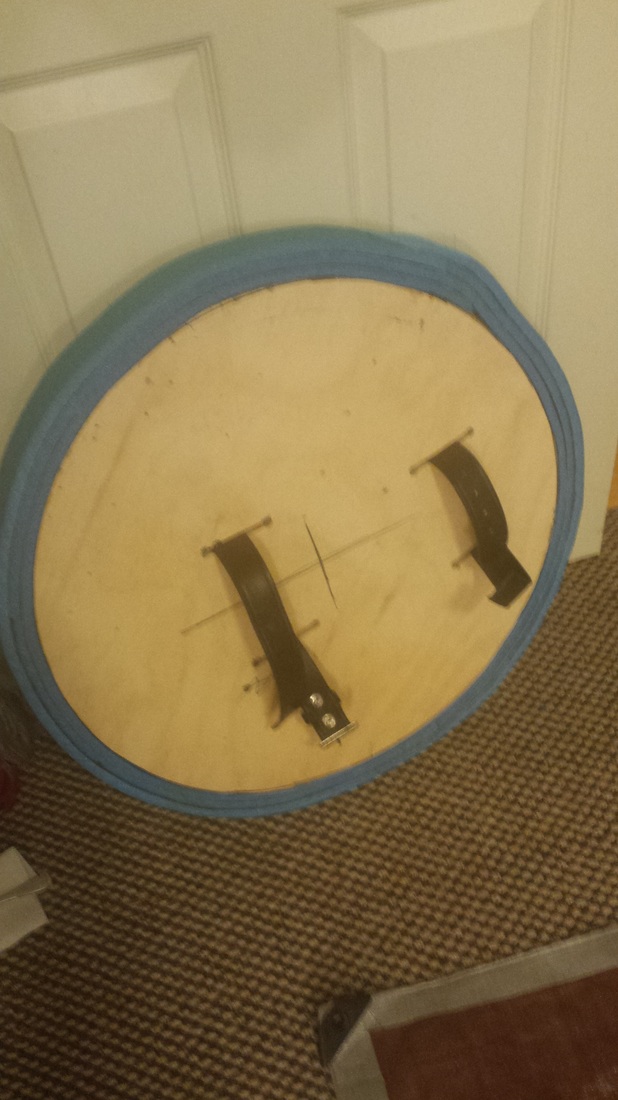
Use your drill to clear out the hole locations. The hole should be large enough to fit the blade of your jig saw through. Connect the hole sets with thin cuts from the jig saw. Keep in mind, these are where your straps are going, so test fit the straps to ensure they fit cleanly through the holes you've made for them. When finished, the shield should look like the one to the left. 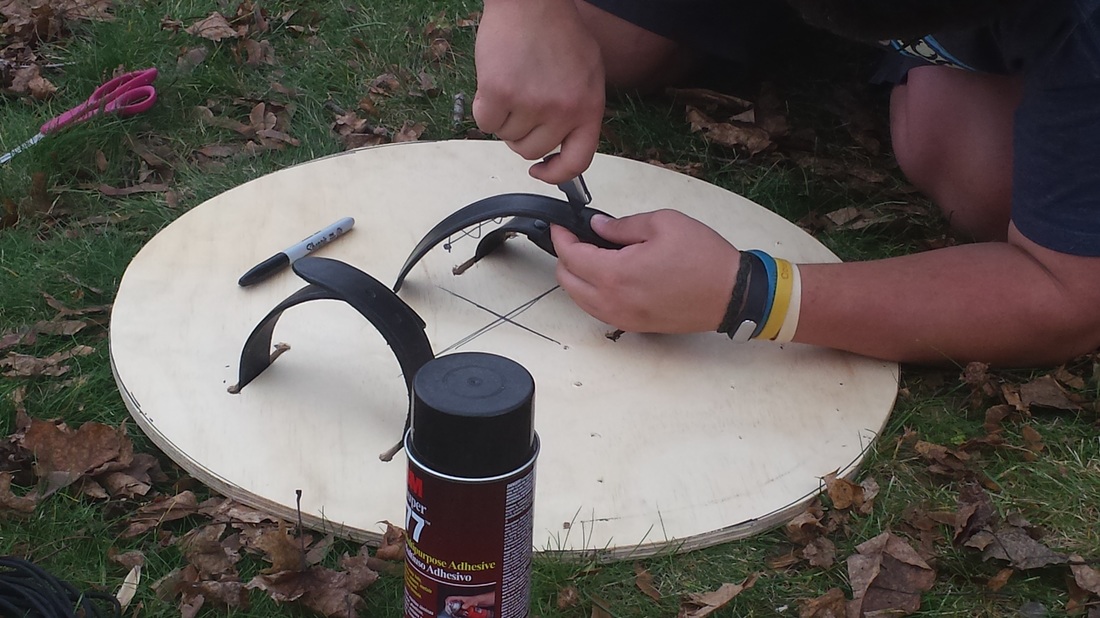
This build will use about the same amount of foam as other build types, but by laying out strips and leaving a few gaps, will help reduce the weight of the shield slightly. This will always be a heavy shield due to its heavy core. You can make the strips as wide or as narrow as you would like. Lay them out on your shield, trying to leave even gaps. You can trim the edges as you go, or wait until the end to trim.
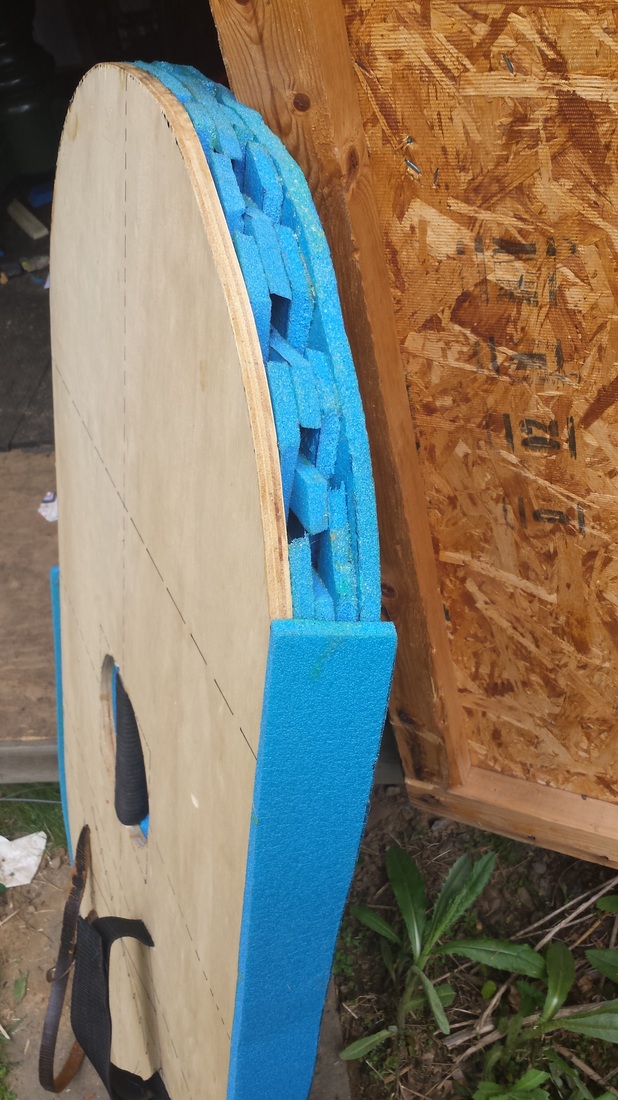
Layer three. put a third layer of foam on top of the new layer, but facing the same direction as your first layer. This image is of the Oval shield I mentioned earlier in the tutorial. This shield already has it's final face layer on the front. Once all three of your layers have been applied, your shield's profile should look similar to this one. Please note; the oval shield shown here is both punch and strap. The fiberglass rod is helping to oblong the punch handle, and runs through the entire shield. We will focus, however, on a simple strap shield for the purpose of the tutorial. 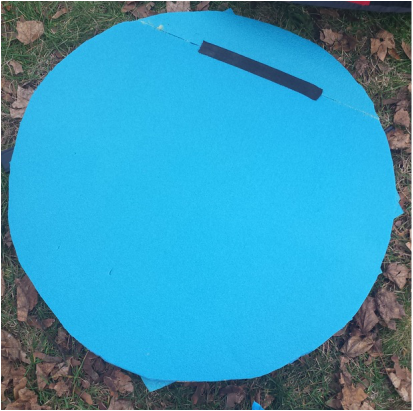
The rim layers of a cored shield are very important. Many shields fail because there isn't enough protection between the rim and the core of the shield. Measure the width of your shield in total, and cut out strips to line the edge of your shield with. If you are building a taller shield, you will have seems. That's fine, simply use Hockey tape to secure the seem. This task can be arduous, but it will be worthwhile. For cored shields, I recommend no less than three layers of foam on the rim.
|
|
Shields tell a story, and help identify you as part of a unit. Keep this in mind when decorating your shields.
|
|
