Two Handed Sword
You and your fellow fighter find yourselves separated from the main group, trying to outflank the enemy in a battle deep in the woodlands. You hear rustling nearby, so you and your friend duck behind a stand of trees. A lone warrior from the other side is what the two of you have found, but, he's wielding a tower shield, and a heavy mace. Your friend only has a small shield and a short sword. It's a good thing that you're wielding a two-handed sword to break this shield. Hmm? Sorry, you don't know have a two-handed sword? That is something we shall have to remedy, isn't it?
This tutorial will teach you how to make a two-handed sword. Like other tutorials, this is designed to be viewed from a computer. Keep in mind, this tutorial is written on the belief that the foam smith has already built a single-handed sword, and has gained some experience in foam-smithing. For this build you will need the following tools: Blue foam, Marine foam (for optional stabbing tip), Scissors, a razor blade, a yard stick or ruler, a sharpie marker, a can of Dap, strapping tape, carpet tape, hockey tape, Duck tape, rope, a driveway marker (optional), a core (PVC or fiberglass), Red electrical tape, green electrical tape (optional), lady's trouser socks, and a quarter.
This tutorial will teach you how to make a two-handed sword. Like other tutorials, this is designed to be viewed from a computer. Keep in mind, this tutorial is written on the belief that the foam smith has already built a single-handed sword, and has gained some experience in foam-smithing. For this build you will need the following tools: Blue foam, Marine foam (for optional stabbing tip), Scissors, a razor blade, a yard stick or ruler, a sharpie marker, a can of Dap, strapping tape, carpet tape, hockey tape, Duck tape, rope, a driveway marker (optional), a core (PVC or fiberglass), Red electrical tape, green electrical tape (optional), lady's trouser socks, and a quarter.
|
Welcome back foam-smiths. As many of you may have surmised, building a red sword is much like building a blue sword, just a bit bigger. We can start by marking out 1.5" from the bottom for the pommel, and then mark a suitable area for your particular grip. The total length of this sword must be equal or greater to 48" according to Dagorhir rules, so measure accordingly!
The next step is to start the "box" at the center of your blade build. Measure the diameter of your core. That measurement becomes the width of the first two strips that you should cut out for the length of your blade. After the strops have been cut, Dap them, and the core, allowing enough time for the Dap to cure and become tacky to the touch.
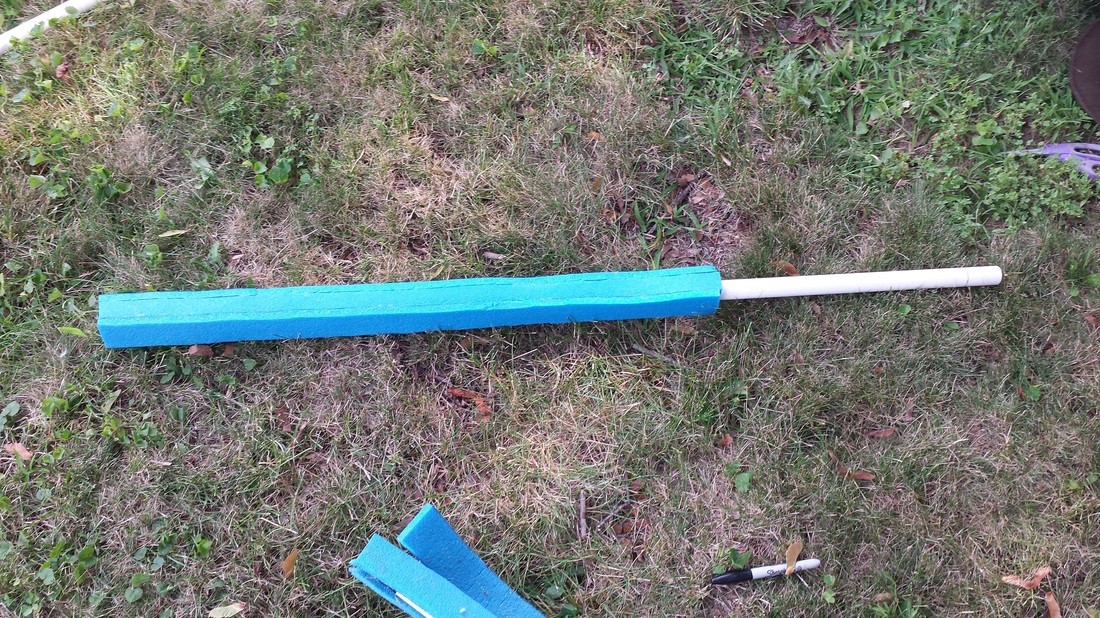
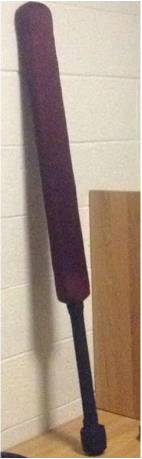
Once the box has dried, it is time for your first blade wrap. This blade piece should be a single, solid piece, and will go over your cap, and glue to the perpendicular sides from the beginning of your box. Once the blade is applied to the weapon, it should look like the image at the right. If you're unsure of a step, the single-handed sword tutorial is a good point of reference. 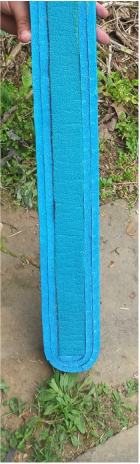
Here's a step that is optional, but recommended; adding a stabbing tip. This is where the Marine foam comes into play. Measure from about 1.5" below your cap, over the top of your blade, and equal to the starting point on the other side. This measurement is the length of the pieces you will need for your stabbing tip. The width should be the same as your blade width. Dap these two pieces together.
After the Dap has cured, it's time to secure the stabbing tip with strapping tape. Take two pieces of tape, and secure the edges on an angle, as see in the image to the right, to ensure that your stabbing tip doesn't move too much, or fold upwards on impact. After this tape is secure, run a full strip over the flat of your entire sword, starting at the base of the grip.
The final steps are upon us! Wrap your grip with a rope of your choice, and cover it with hockey tape. This is also an opportune time to cover your pommel, and even add the markings. This sword, in Dagorhir, is over 48" therefore classifying itself as a two-handed weapon, or as we call them, a "red" weapon. If you chose to add the marine foam stabbing tip to the top of your blade, you can also add the green electrical tape, so signify a stabbing tip. (Remember: a two-handed stab even penetrates armor!) Use the lady's trouser sock(s) to cover your sword. This particular blade has three of them over it, ensuring that none of the blue-foam origins shine through the fabric. After this stage, you are done! I recommend waiting two days for the Dap to "gas out", giving the glues enough tome to fully cure. After this step, your weapon is ready to be checked by a herald, and head to the field. |
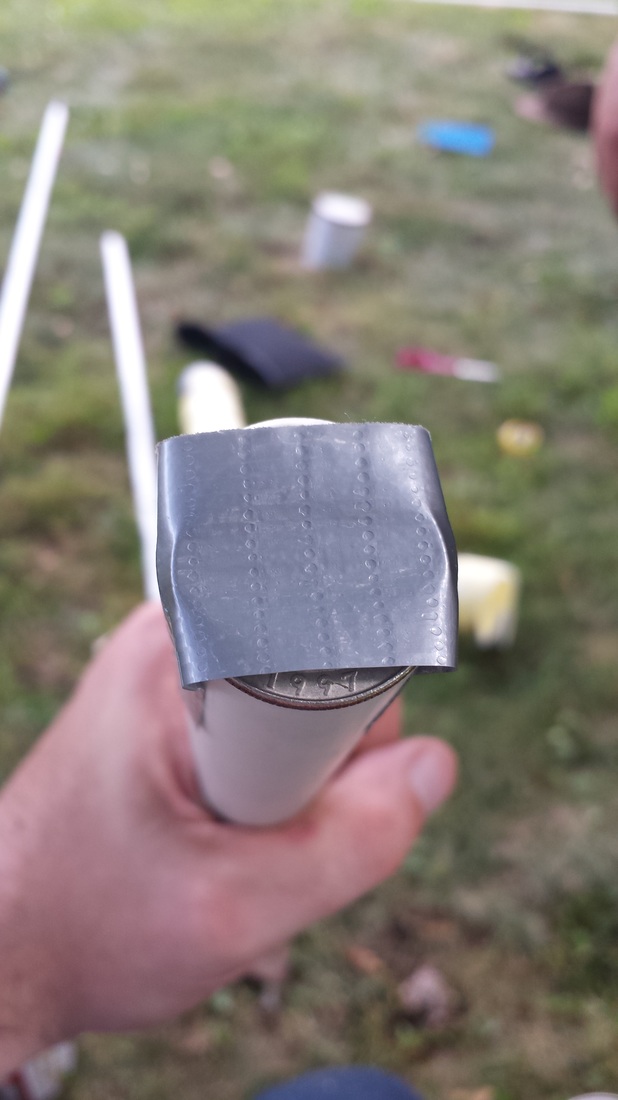
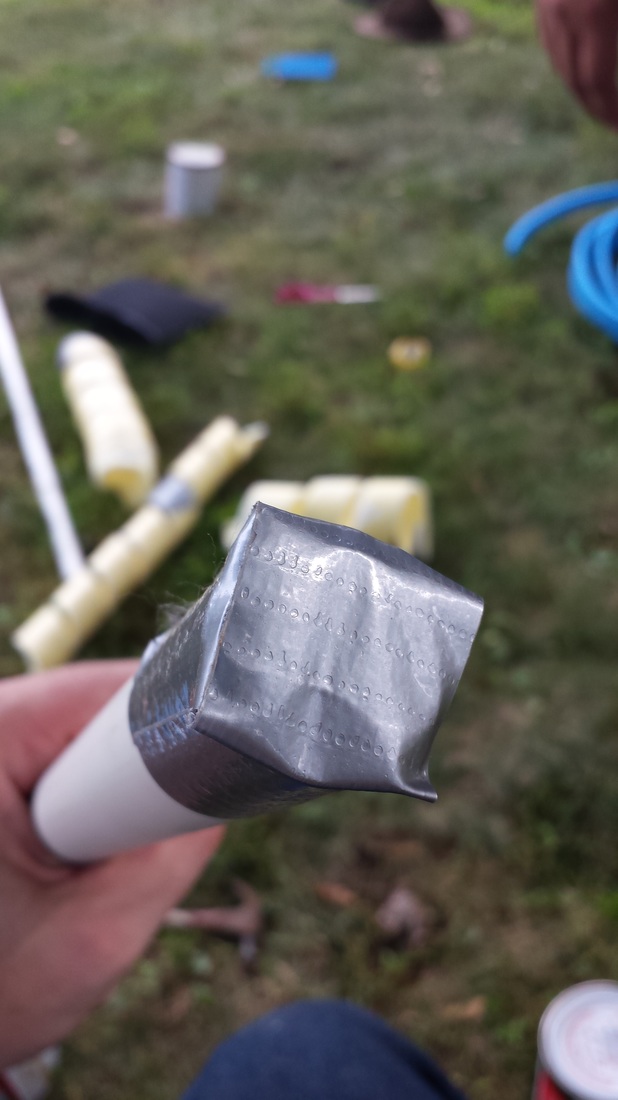
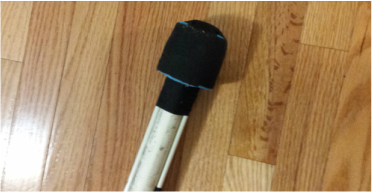
Step two is to coin-cap the newly- designated top of your core. I used Duck tape for this step, and folded the tape in a + shape over the quarter to ensure it is secure on the core. This will help prevent the sharp edges of the core to punch through the foam, causing a tip blow-out. (Please excuse the mess in the background, it was a long build day with many weapons going at once.) 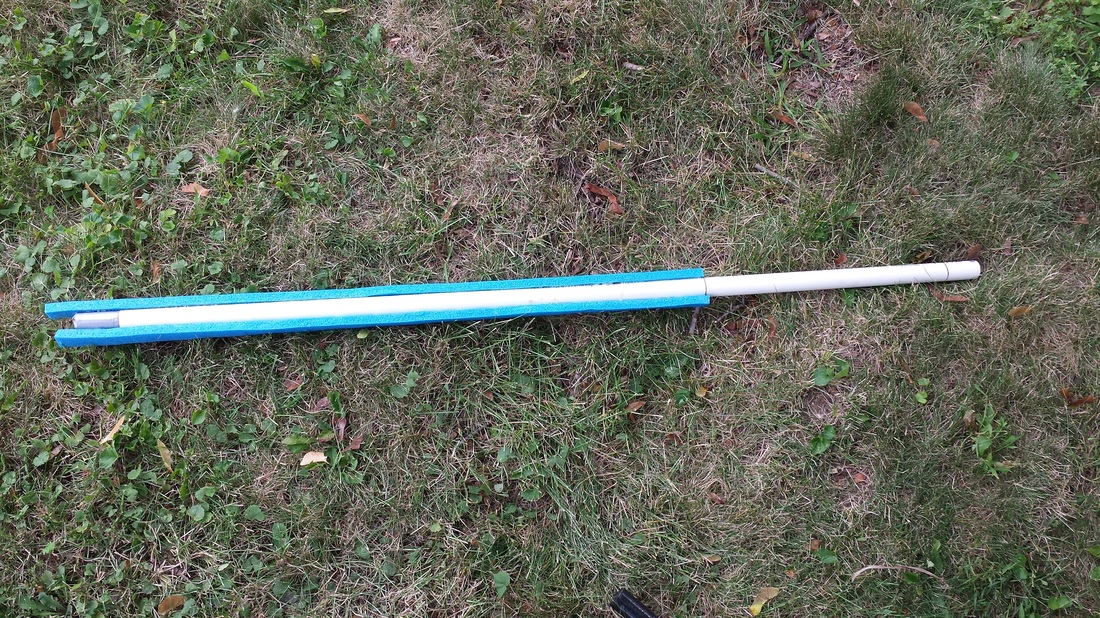
After the first two parts of the box have dried, measure the new total width. This becomes the last two sides of the box, keeping with the same length measurement as you started with. If you have over-hang from the top, you can use a razor blade to even out the over-hang at this point. Once the sides are complete, add a cap to the top of the blade. Don't forget to bevel the edges! 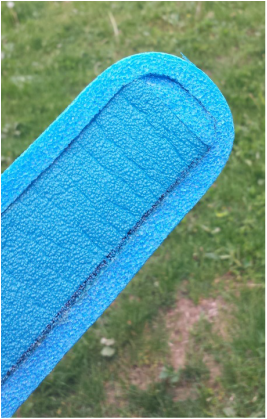
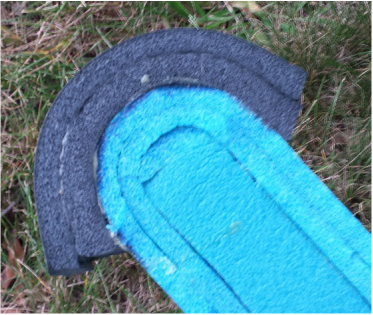
The following step is to add a second layer on to the blade, much as you did the first. The end result should look like the image at the left. 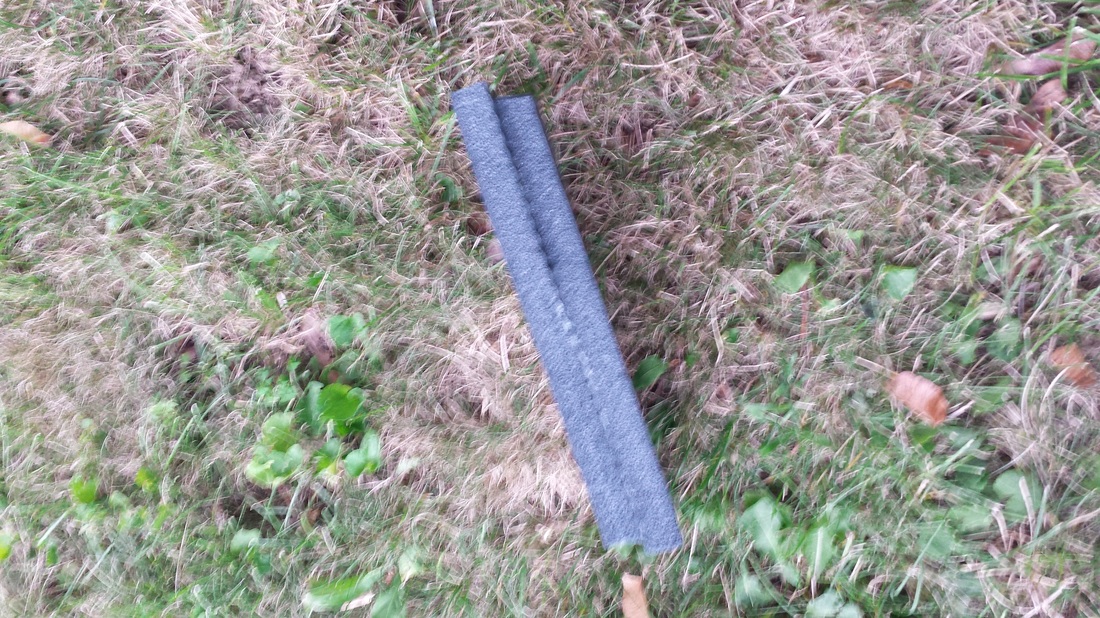
Once they are dry, mount the two pieces to the top of the sword. To trim the over-hang, please see the one-handed sword tutorial. 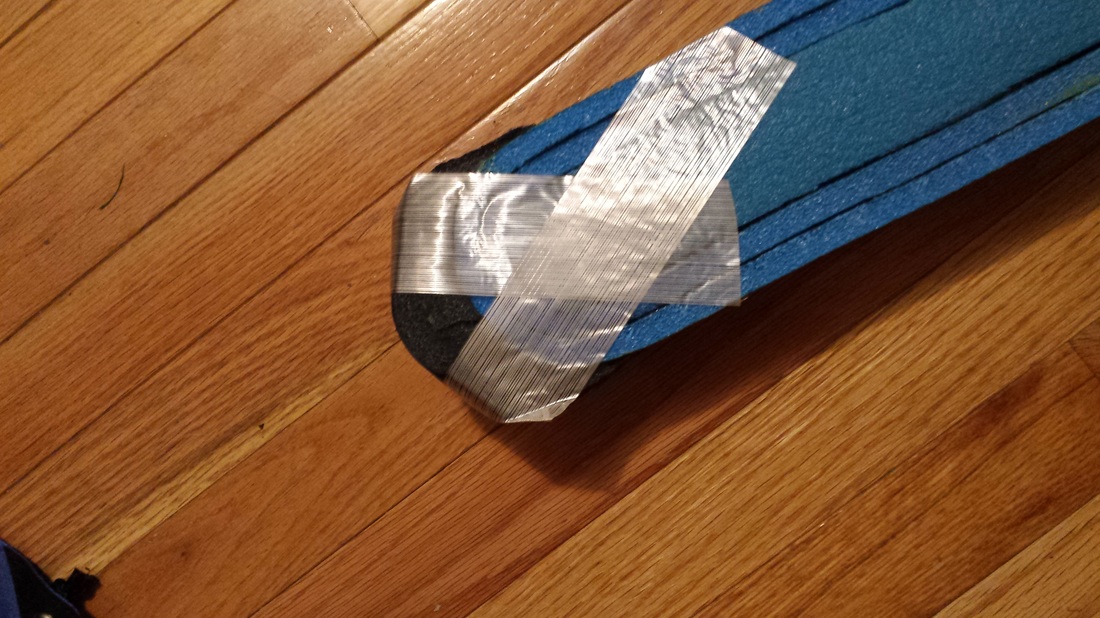
Time to build your pommel. Much like the single-handed sword tutorial, you start by adding a 1" wrap of foam around the bottom of your core. After that first wrap is done, add a cap. Repeat the process for the second layer. This is a good opportunity to use the carpet tape to oblong your handle, if you wish to do so, as seen to the left.
|